Lynden Hairstylist | Simple Rope Braid

First of all, does everyone see the hair that I was lucky enough to work with!? Oh my goodness!! It was beautiful and I have major hair envy! We wanted to do something simple enough for everyday, as well as a way to keep your hair down, yet out of your face. Meghann ( of Frankie and Maude) was my model for this style, so tune in next week to learn all about them in our #Bosslady features.
Ready?! Lets begin!

Meghann had beautiful natural curls, so this is just us assessing what side to part it on! I would suggest going with whichever way you hair naturally falls.
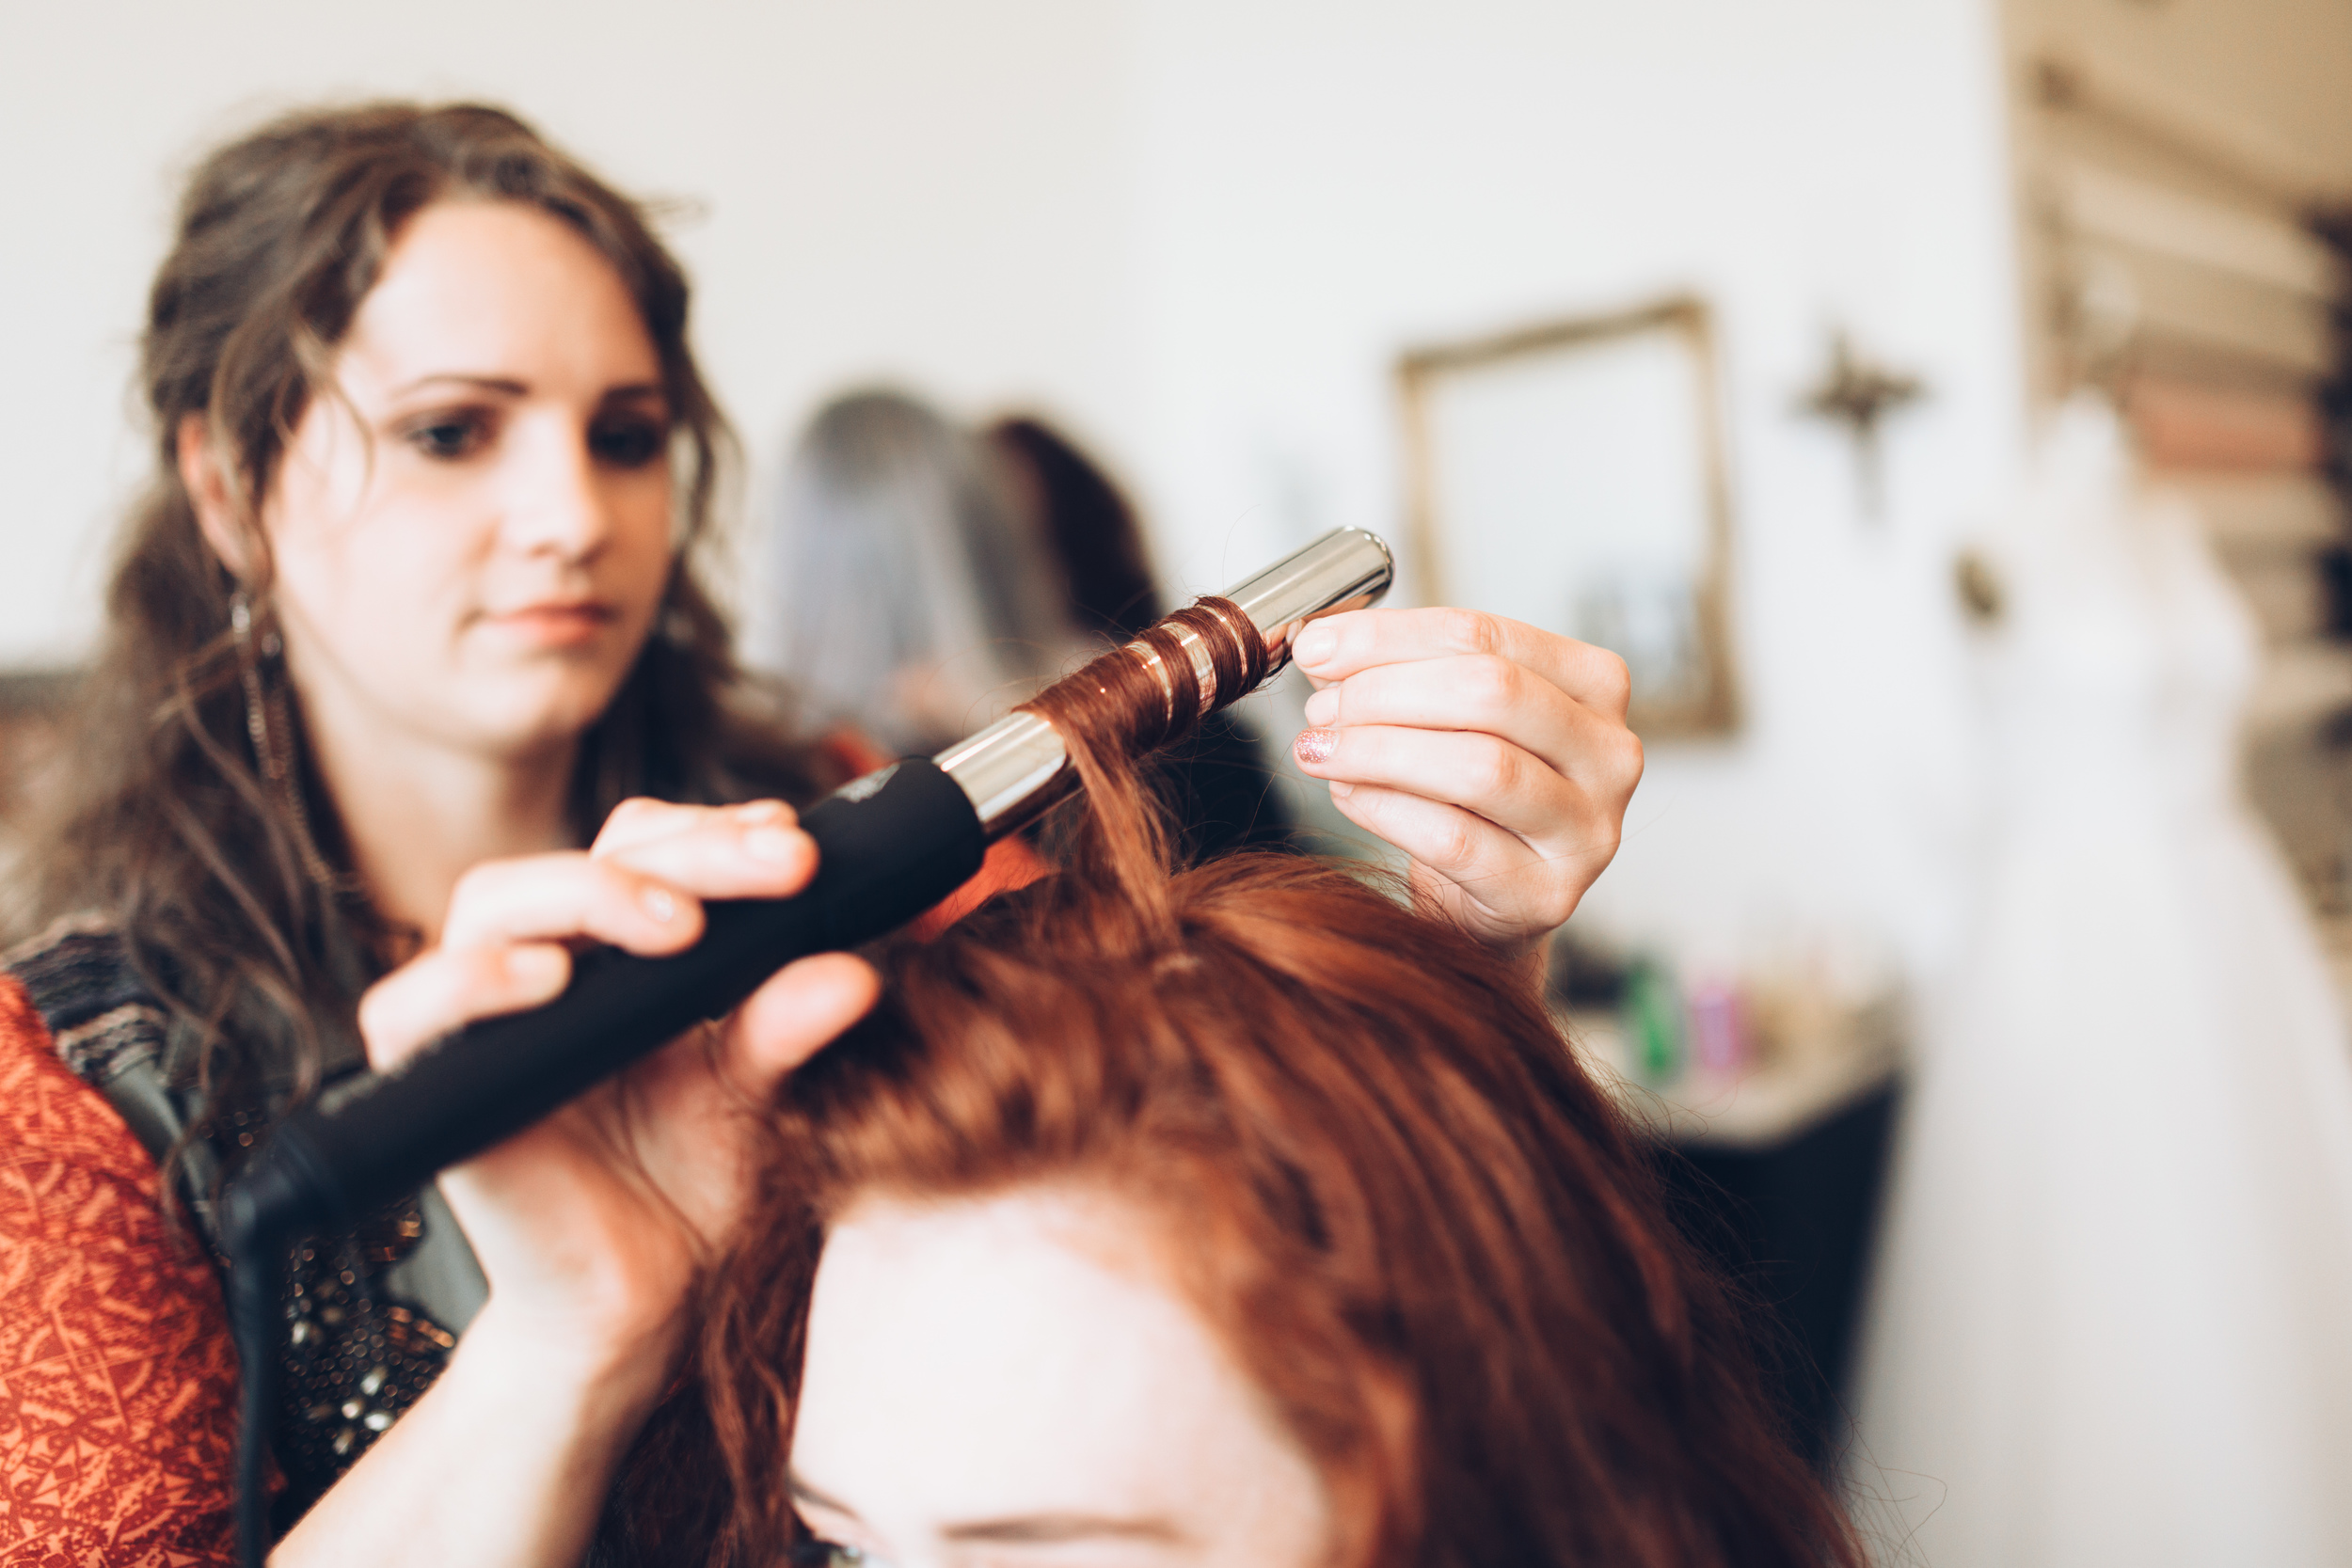
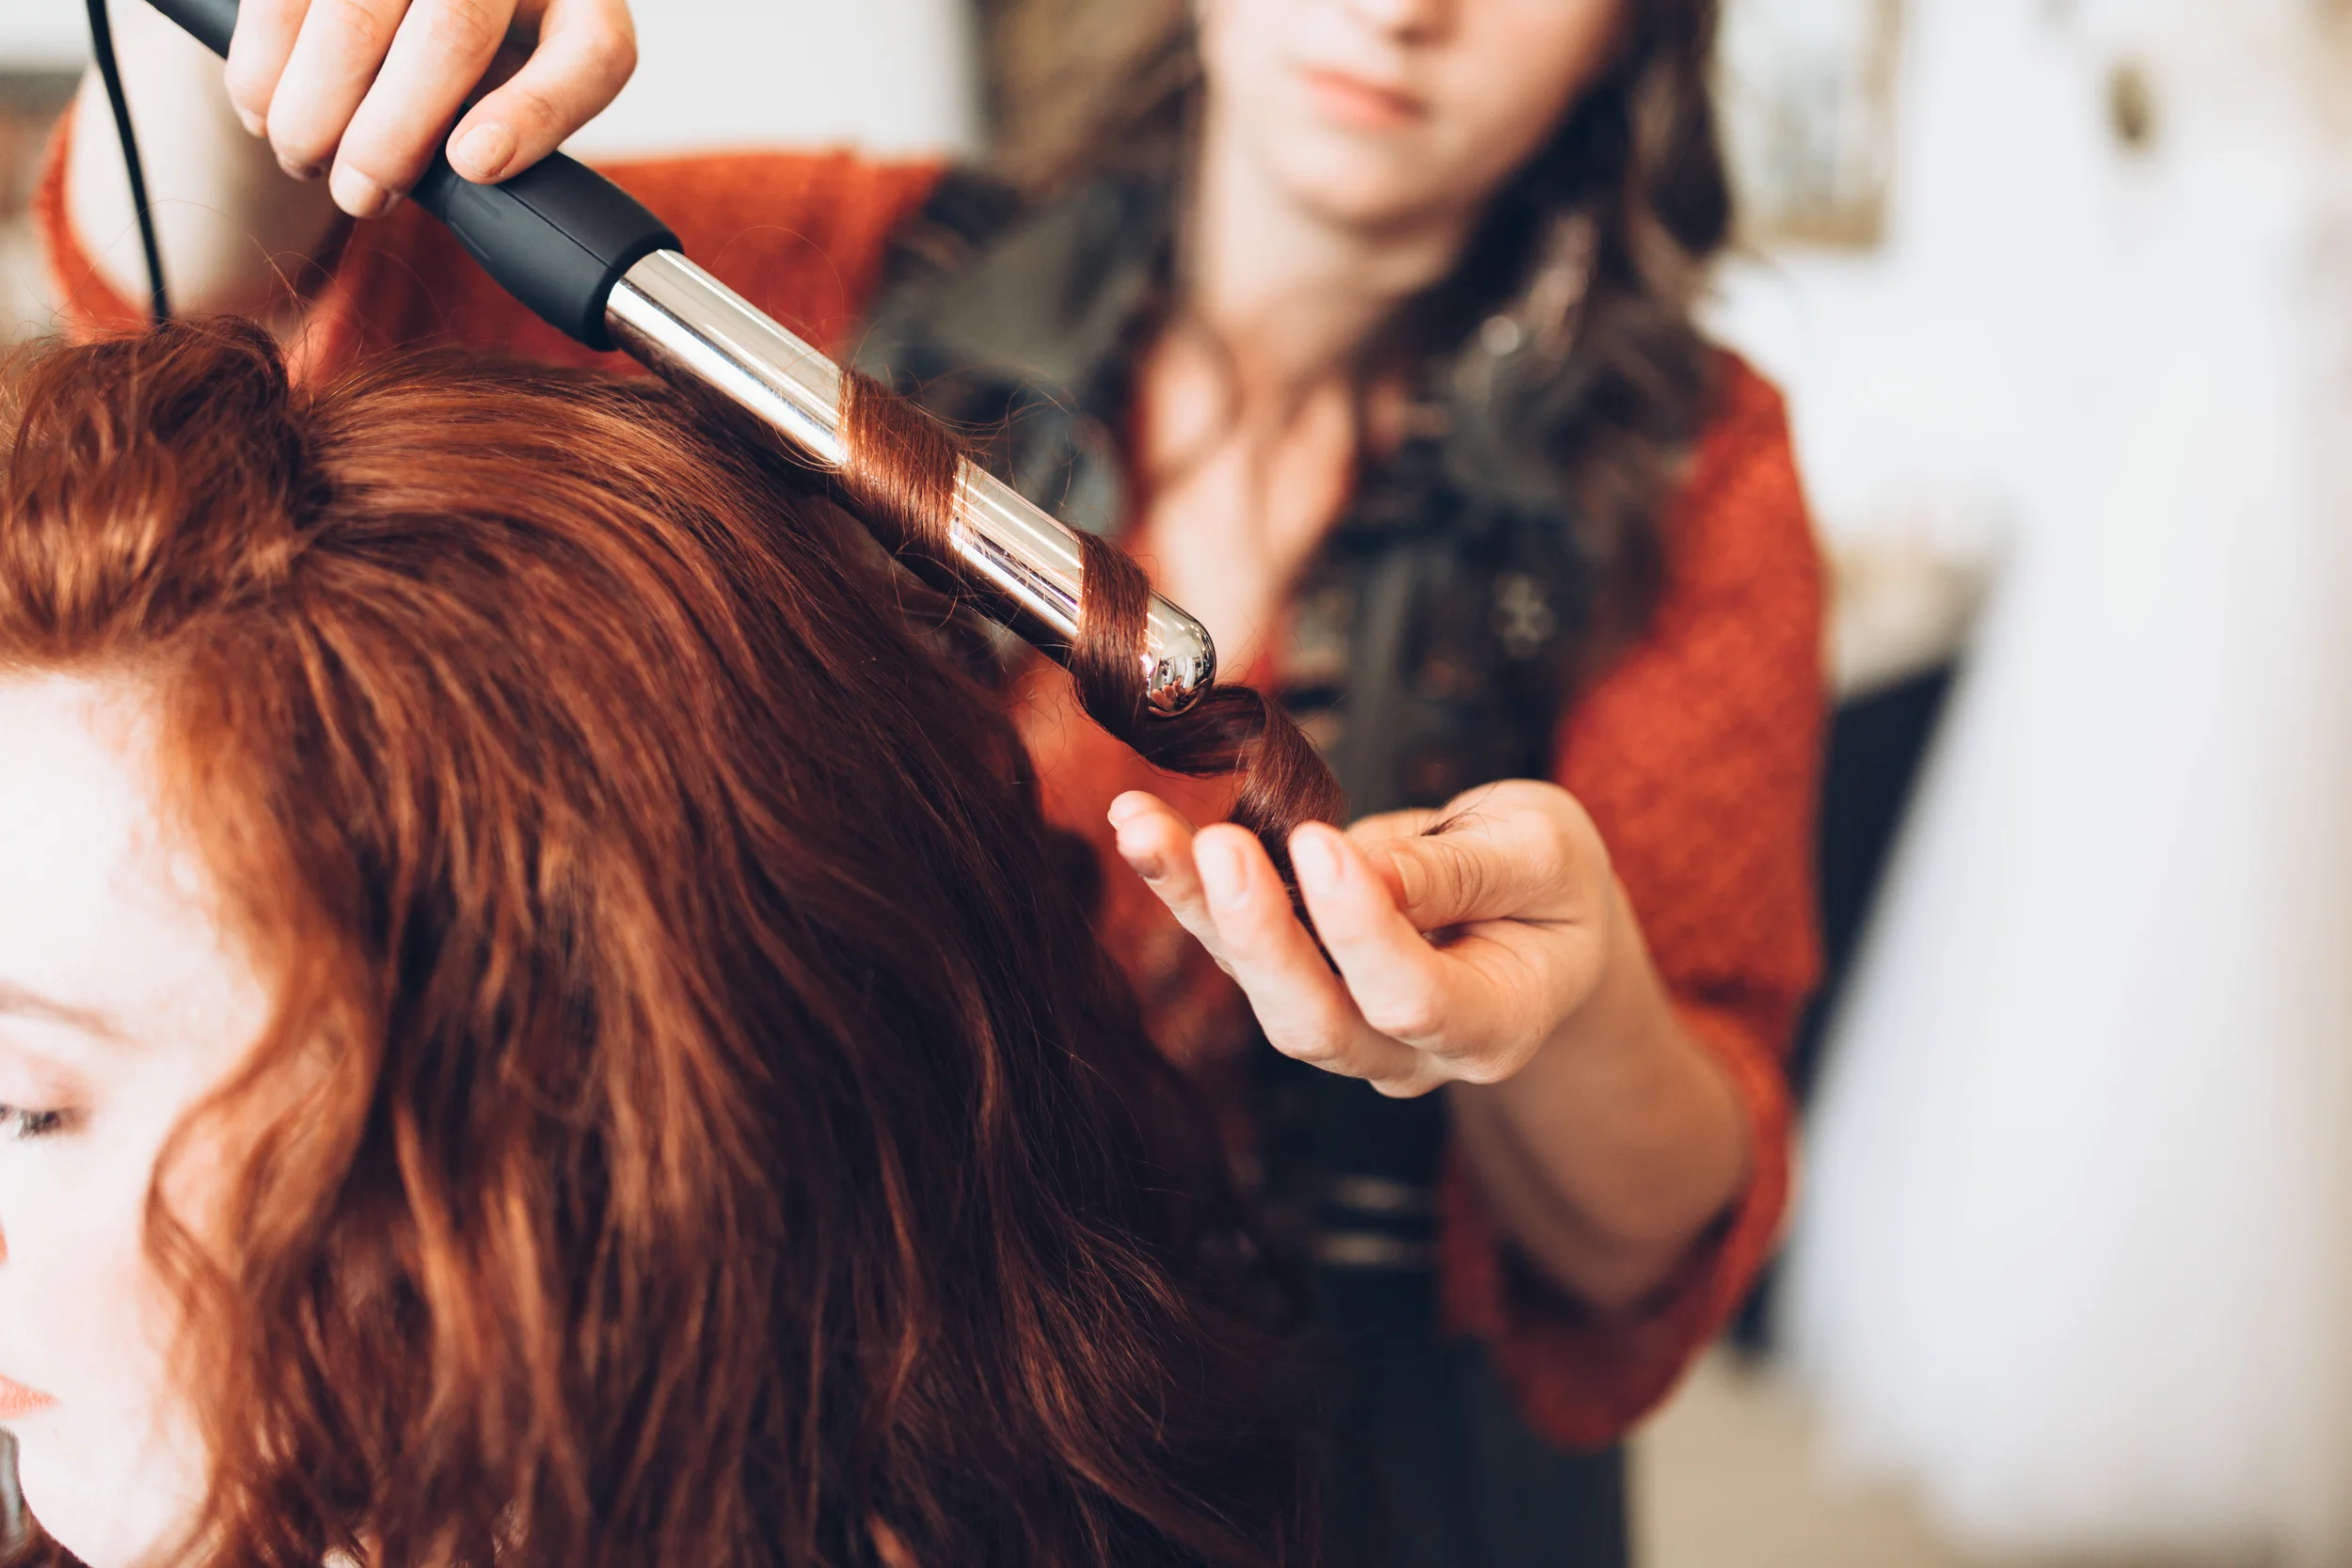
I used my NuMe wand ( titanium 32mm ) To just retouch and refresh some of her curls.

Of course a little teasing to add volume and a little more holding power for bobby pins.

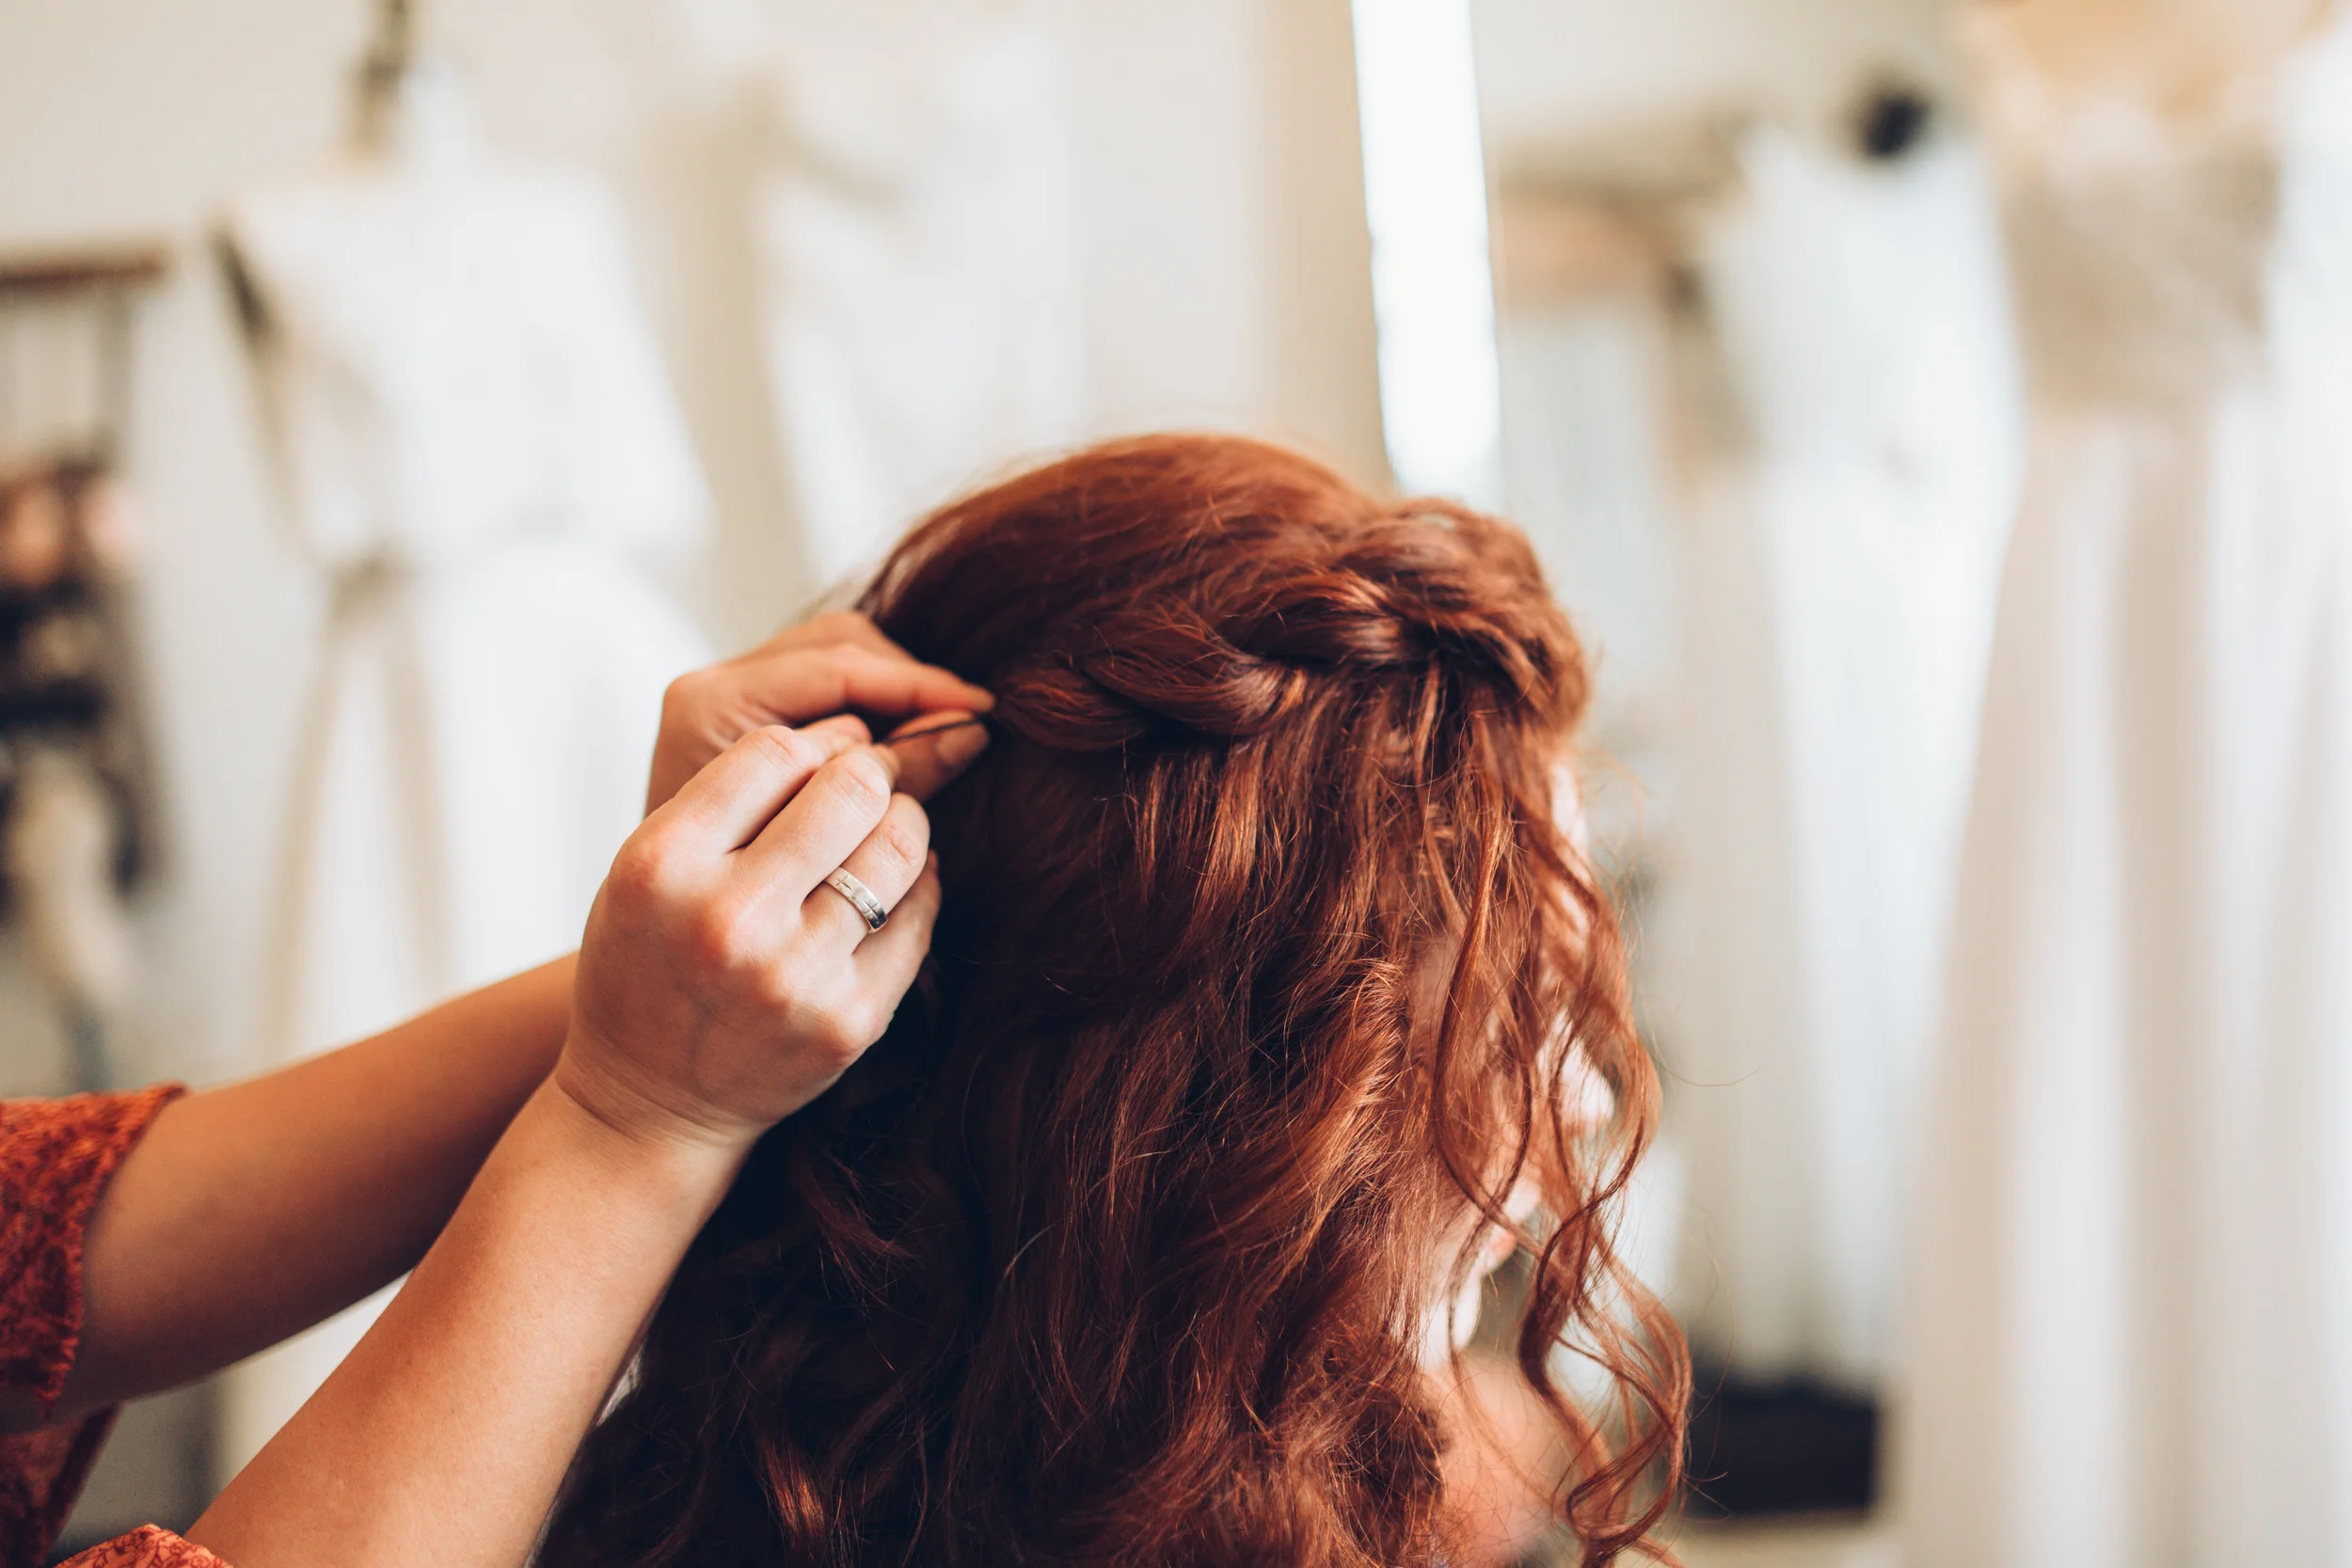
Take a section in the front and split it into two pieces, then twist!!
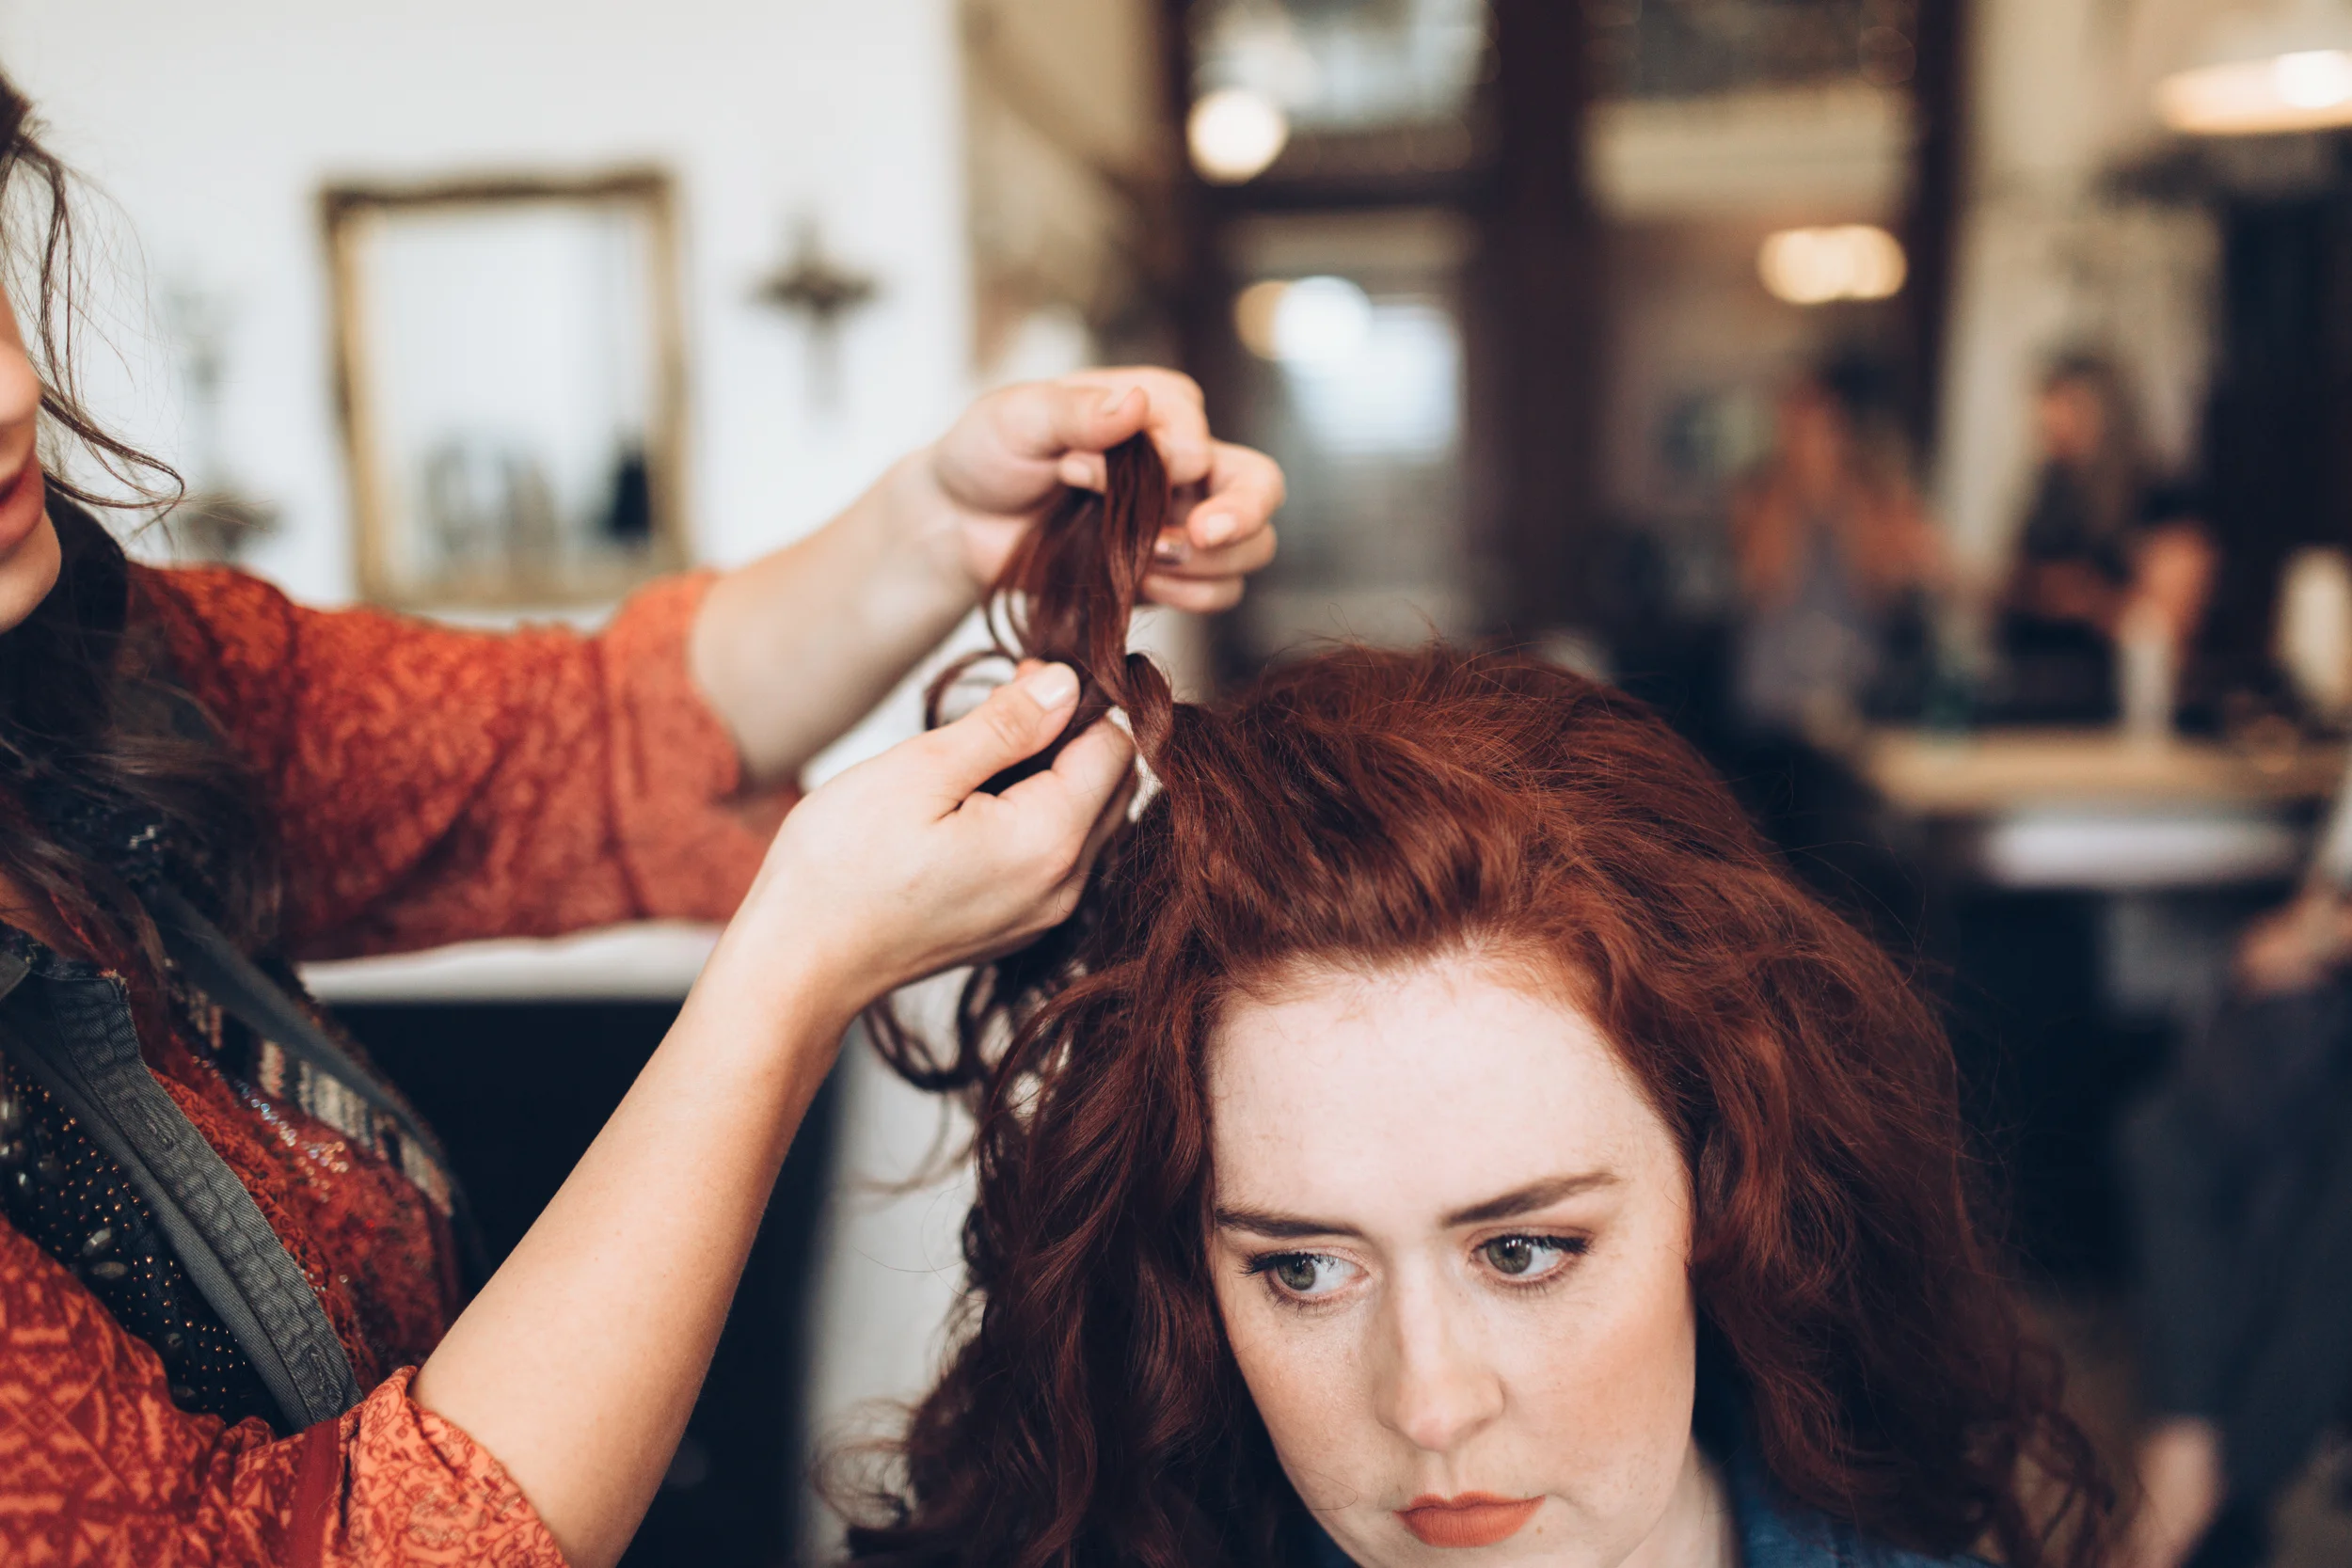
You may do as many twist as you would like, seriously though, totally up to you! :)
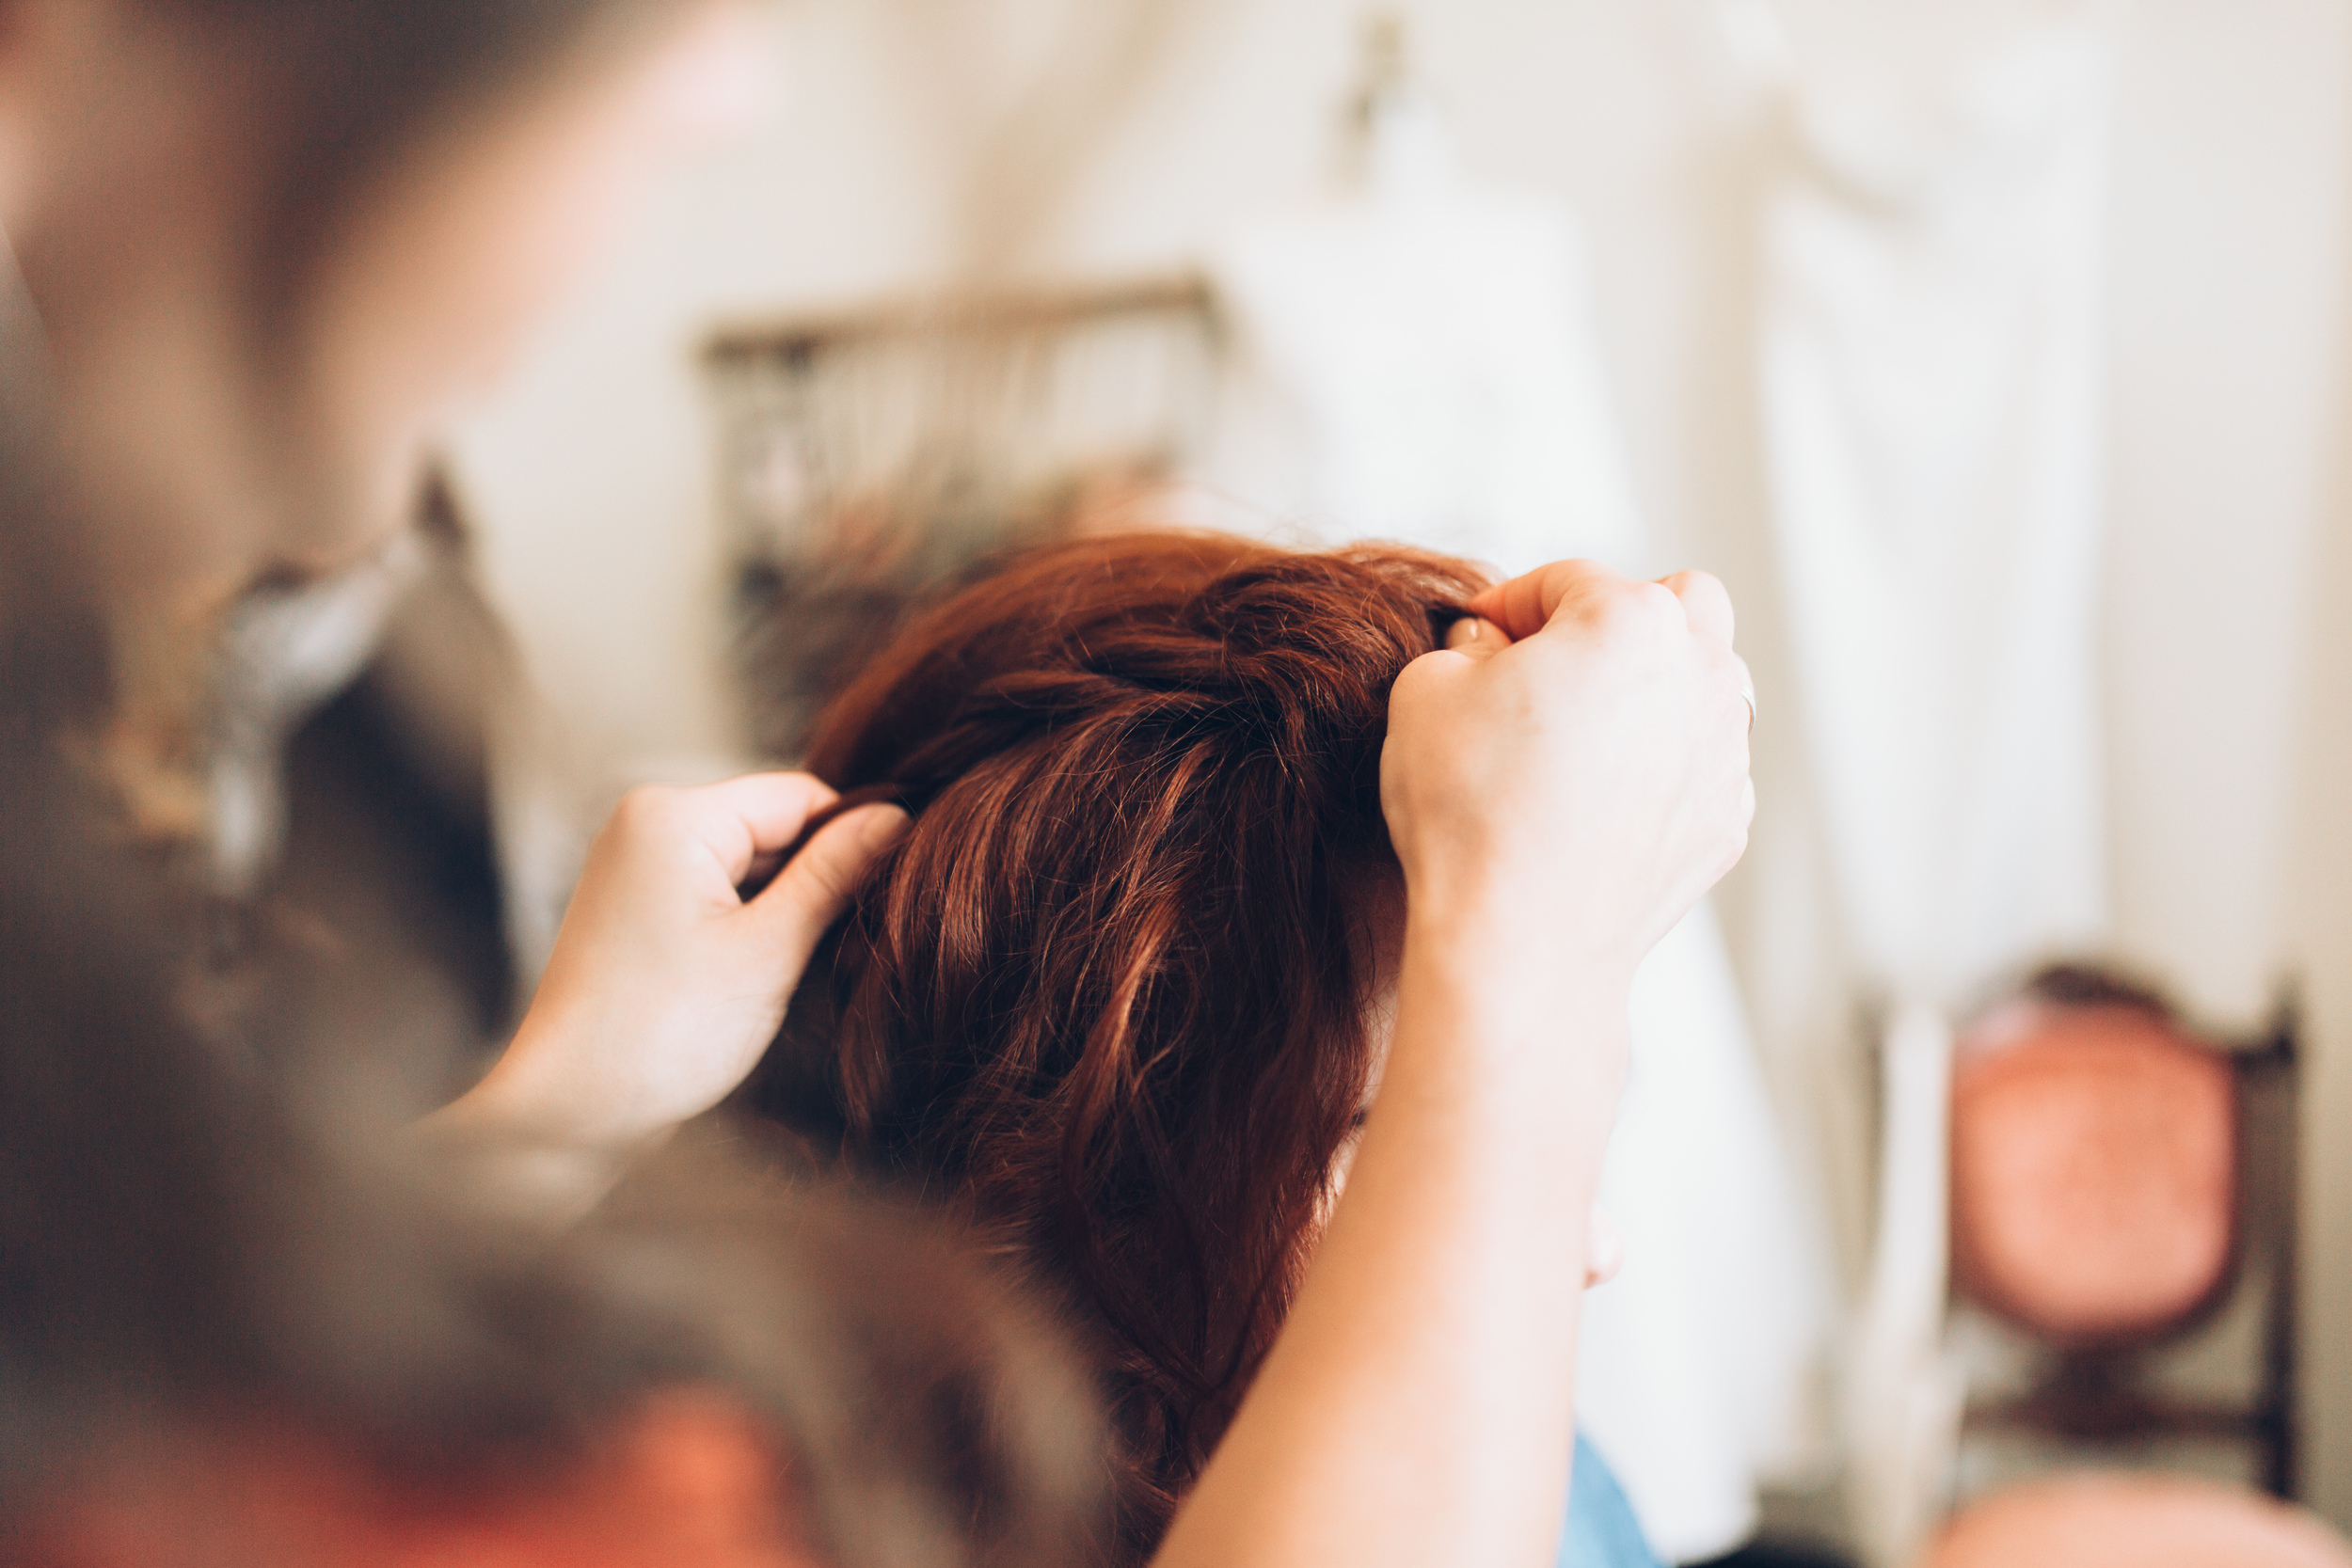
Just to show how awesome the pancaking technique is, here is the rope braid before...
And this is after!
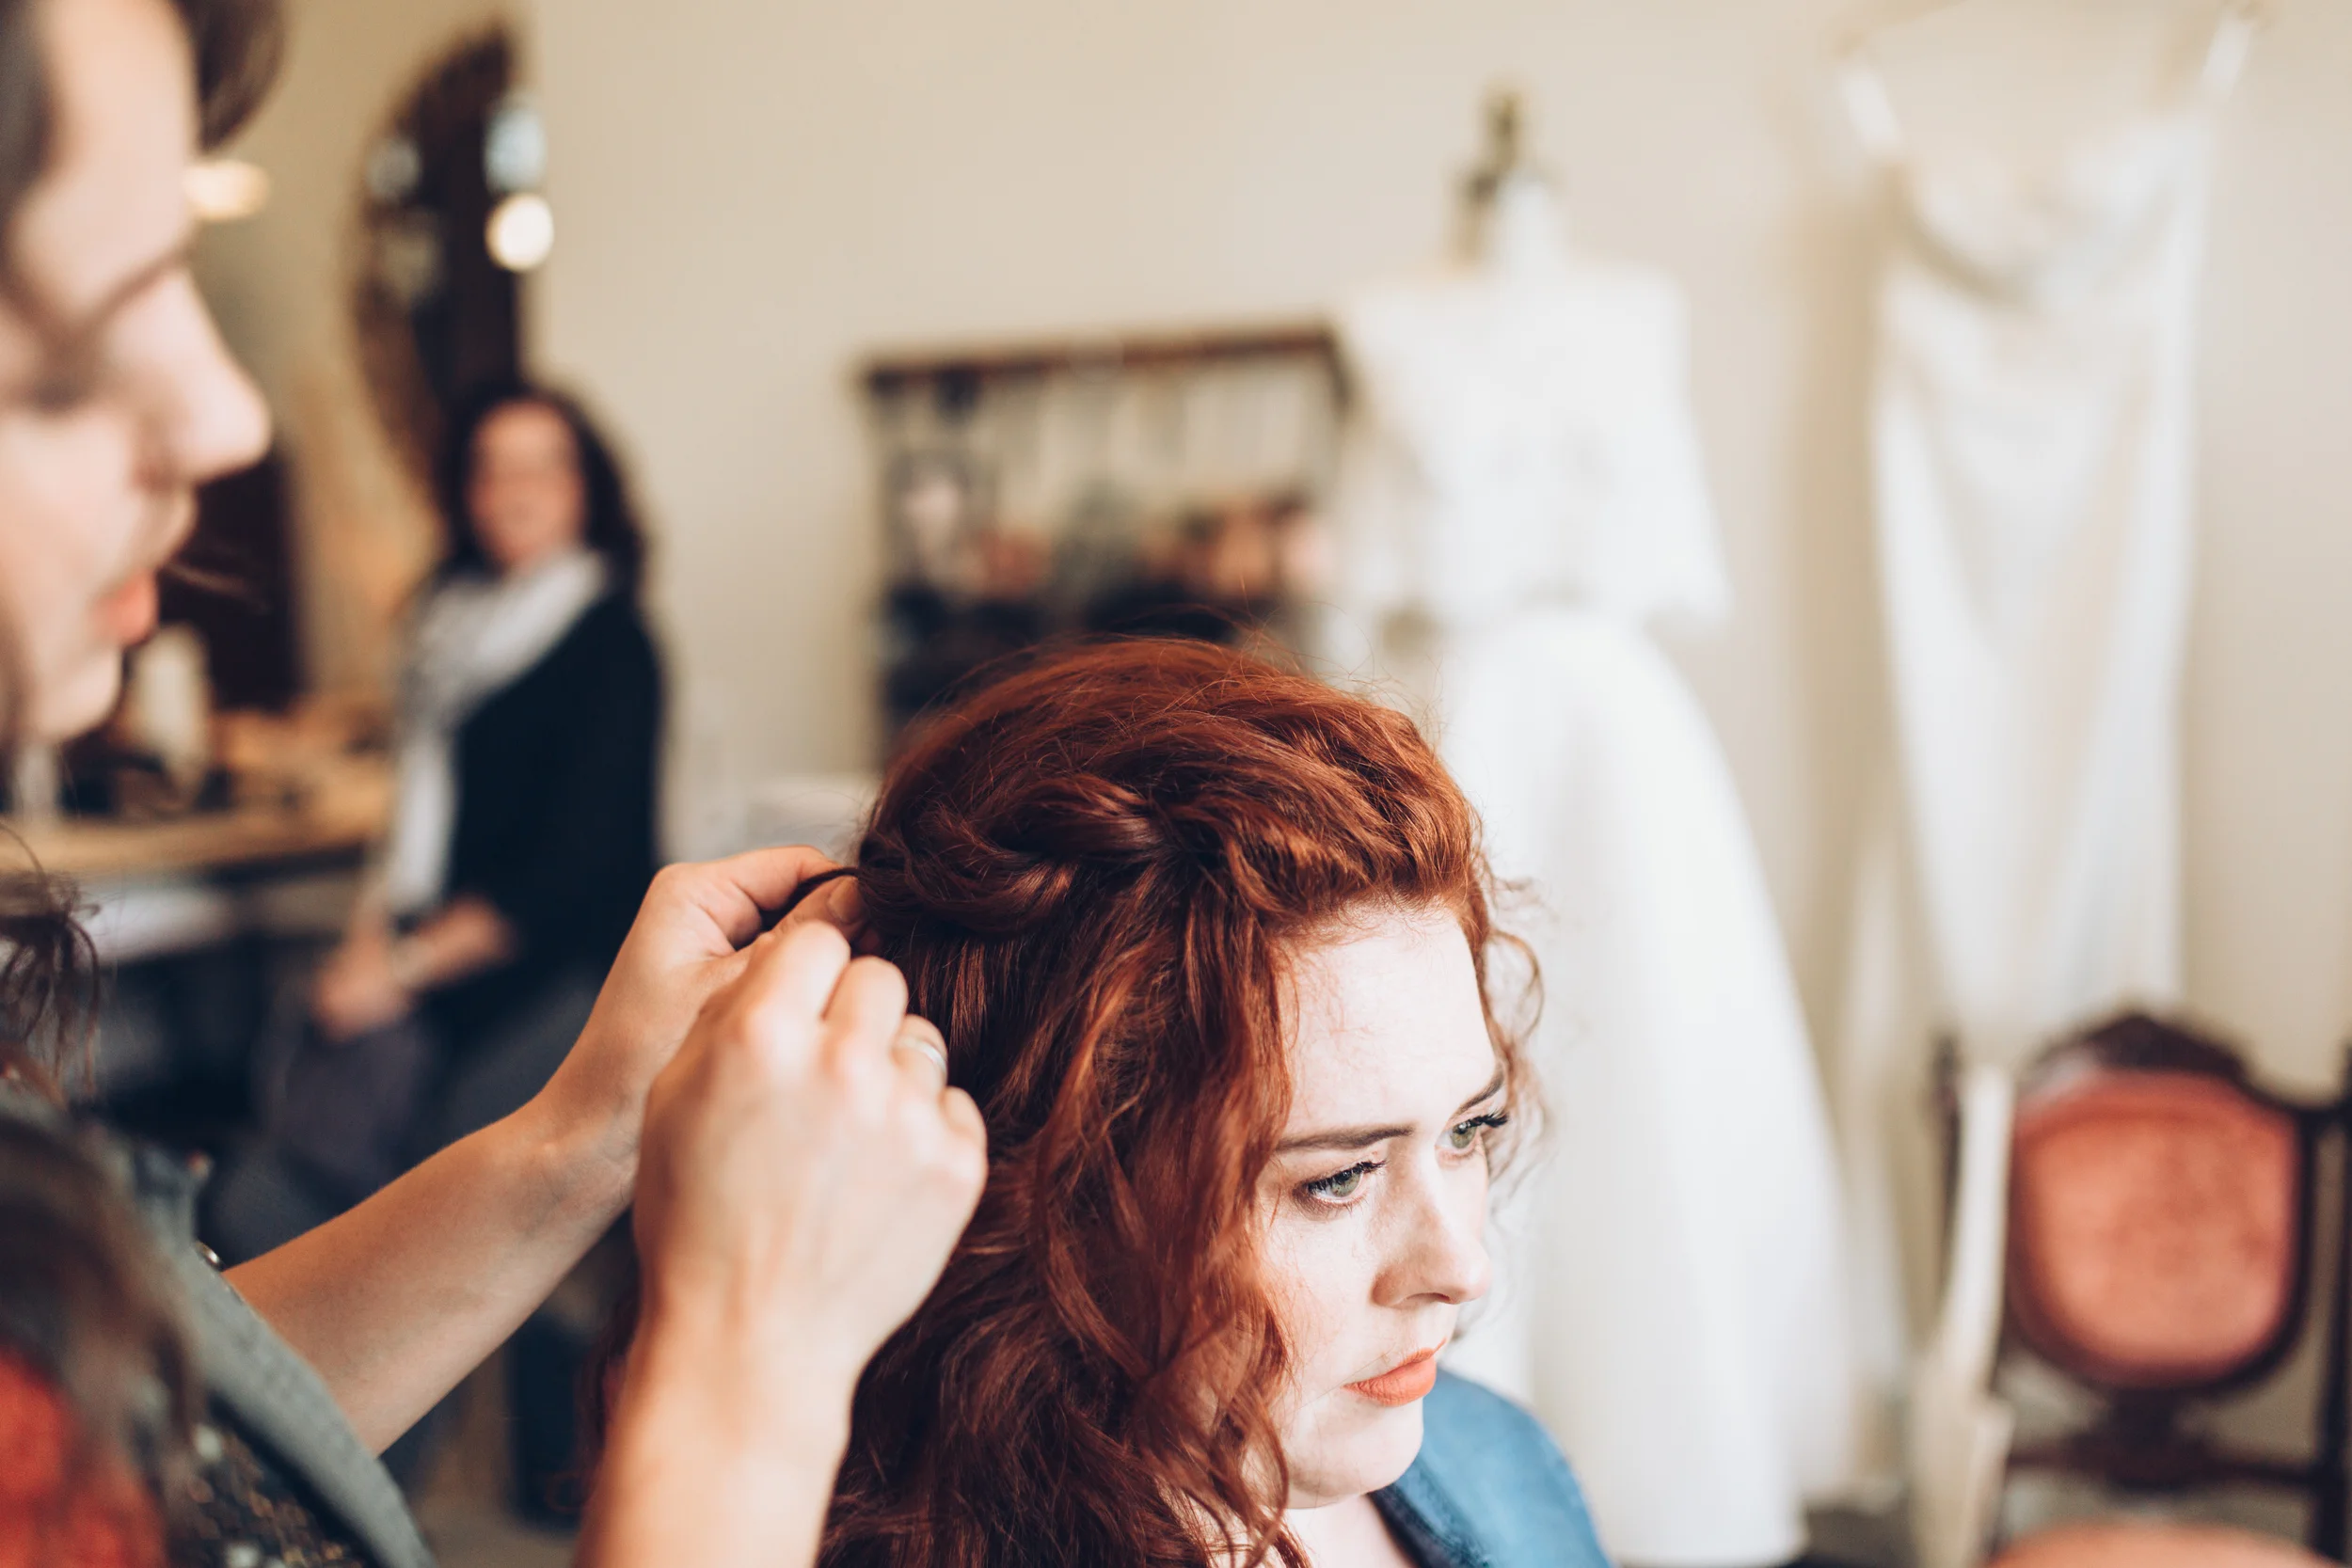
Pin into place with bobby pins. You can also tie off the braid with elastic if you are wanting the braid to really not go anywhere!
A little more curl refreshing :)

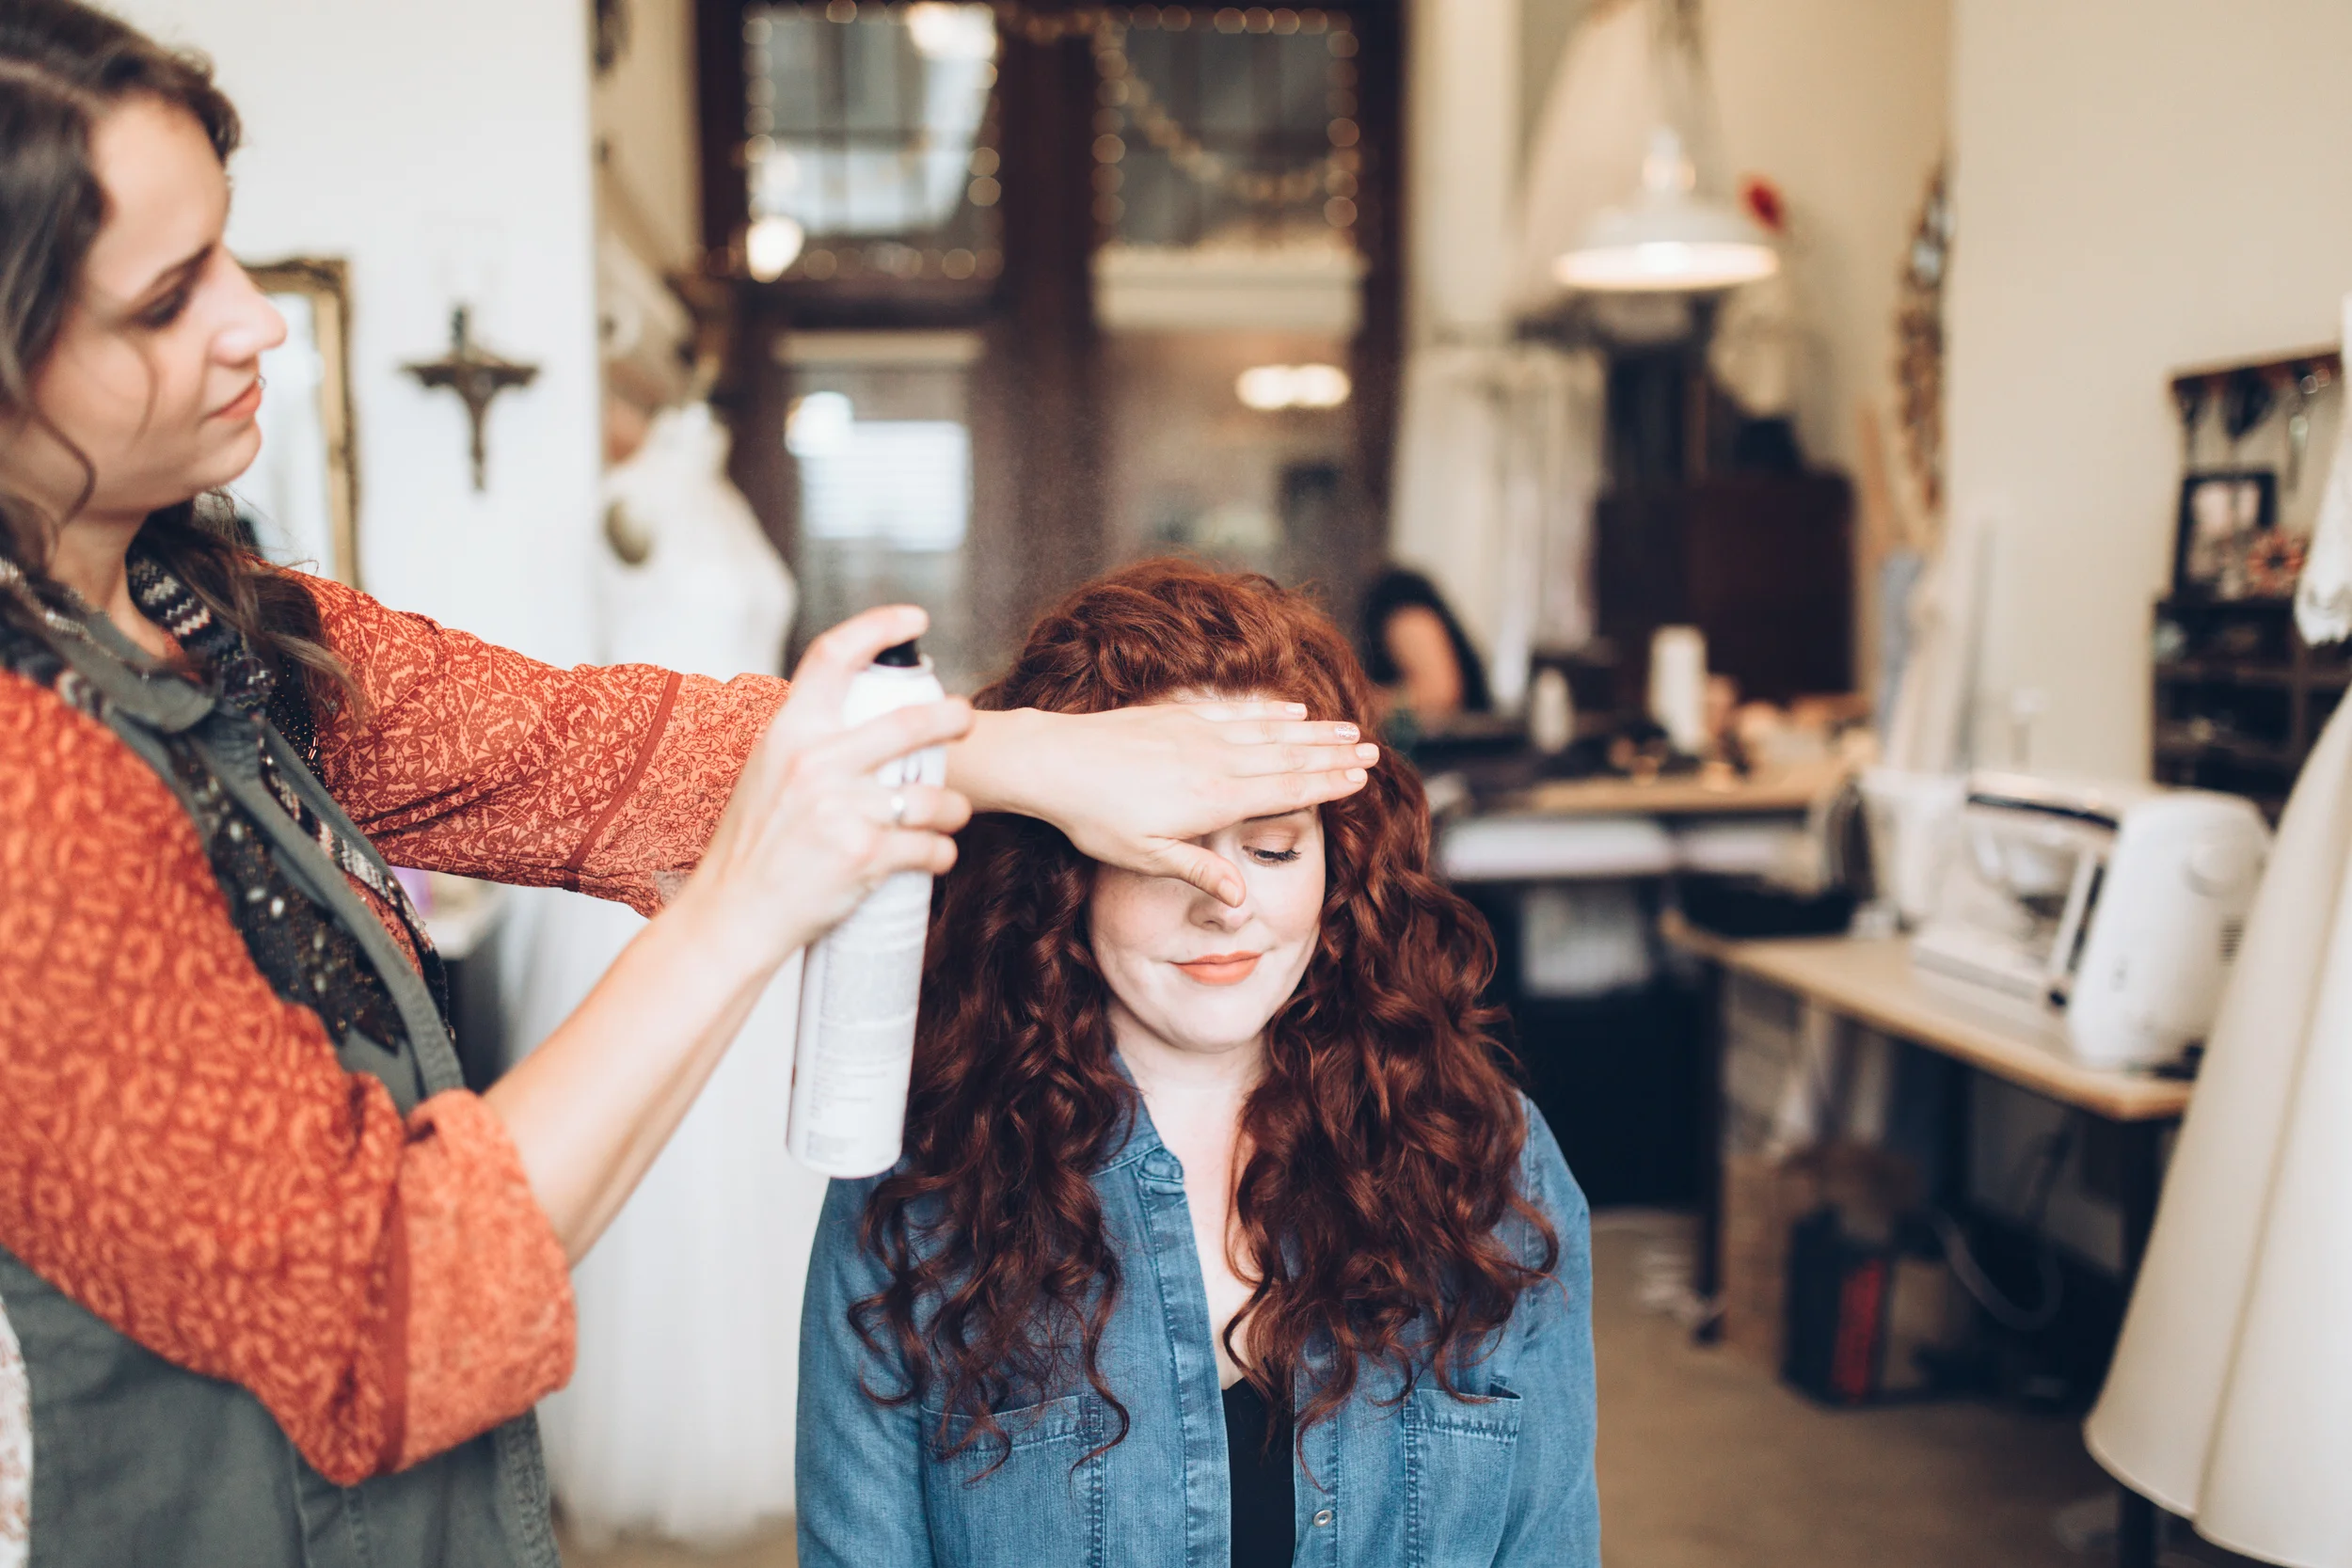
The last step of course is to spray a little hairspray on for extra holding power!
Thank you all for reading! Let me know how this hairstyle goes for you. I am always open to see pictures and hearing comments :)