Upside-Down Braided Top Knot

Ok guys, I have been putting off this tutorial, because this was a difficult one for me! The upside down braid is hard! (yes I am still struggling with it a little bit! ) So I would suggest if you are new to the braiding game to maybe do this one with a partner.
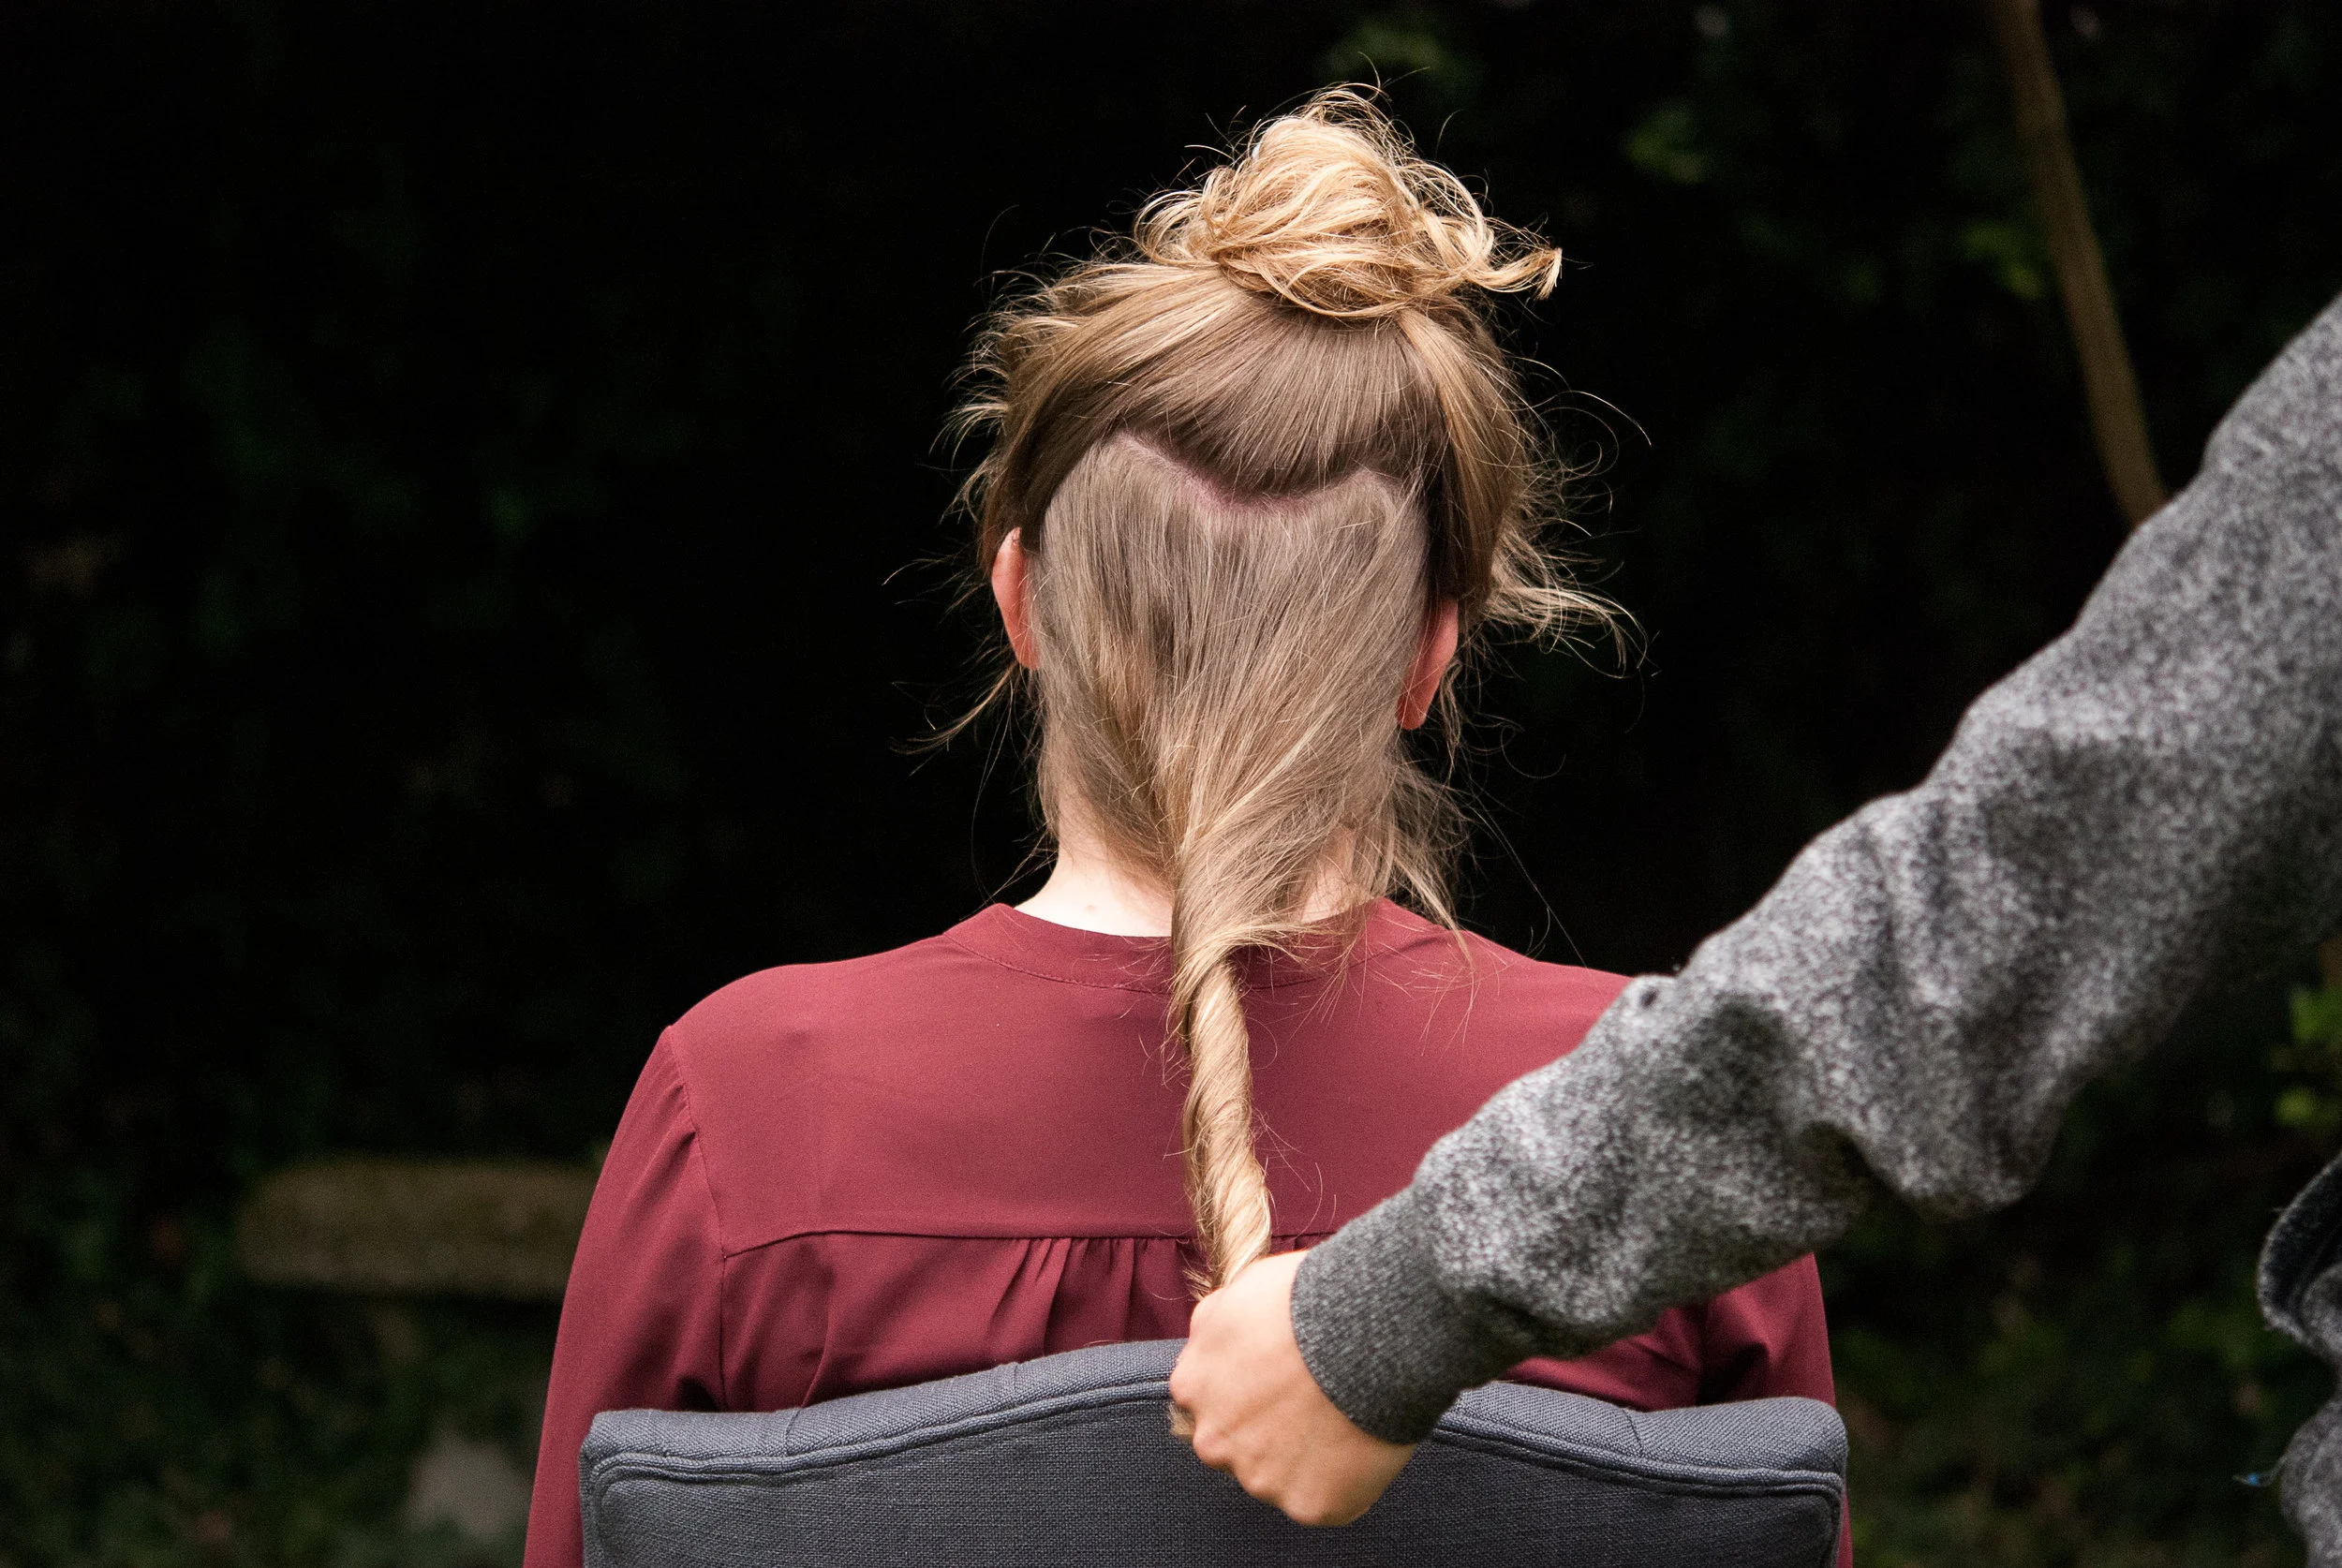
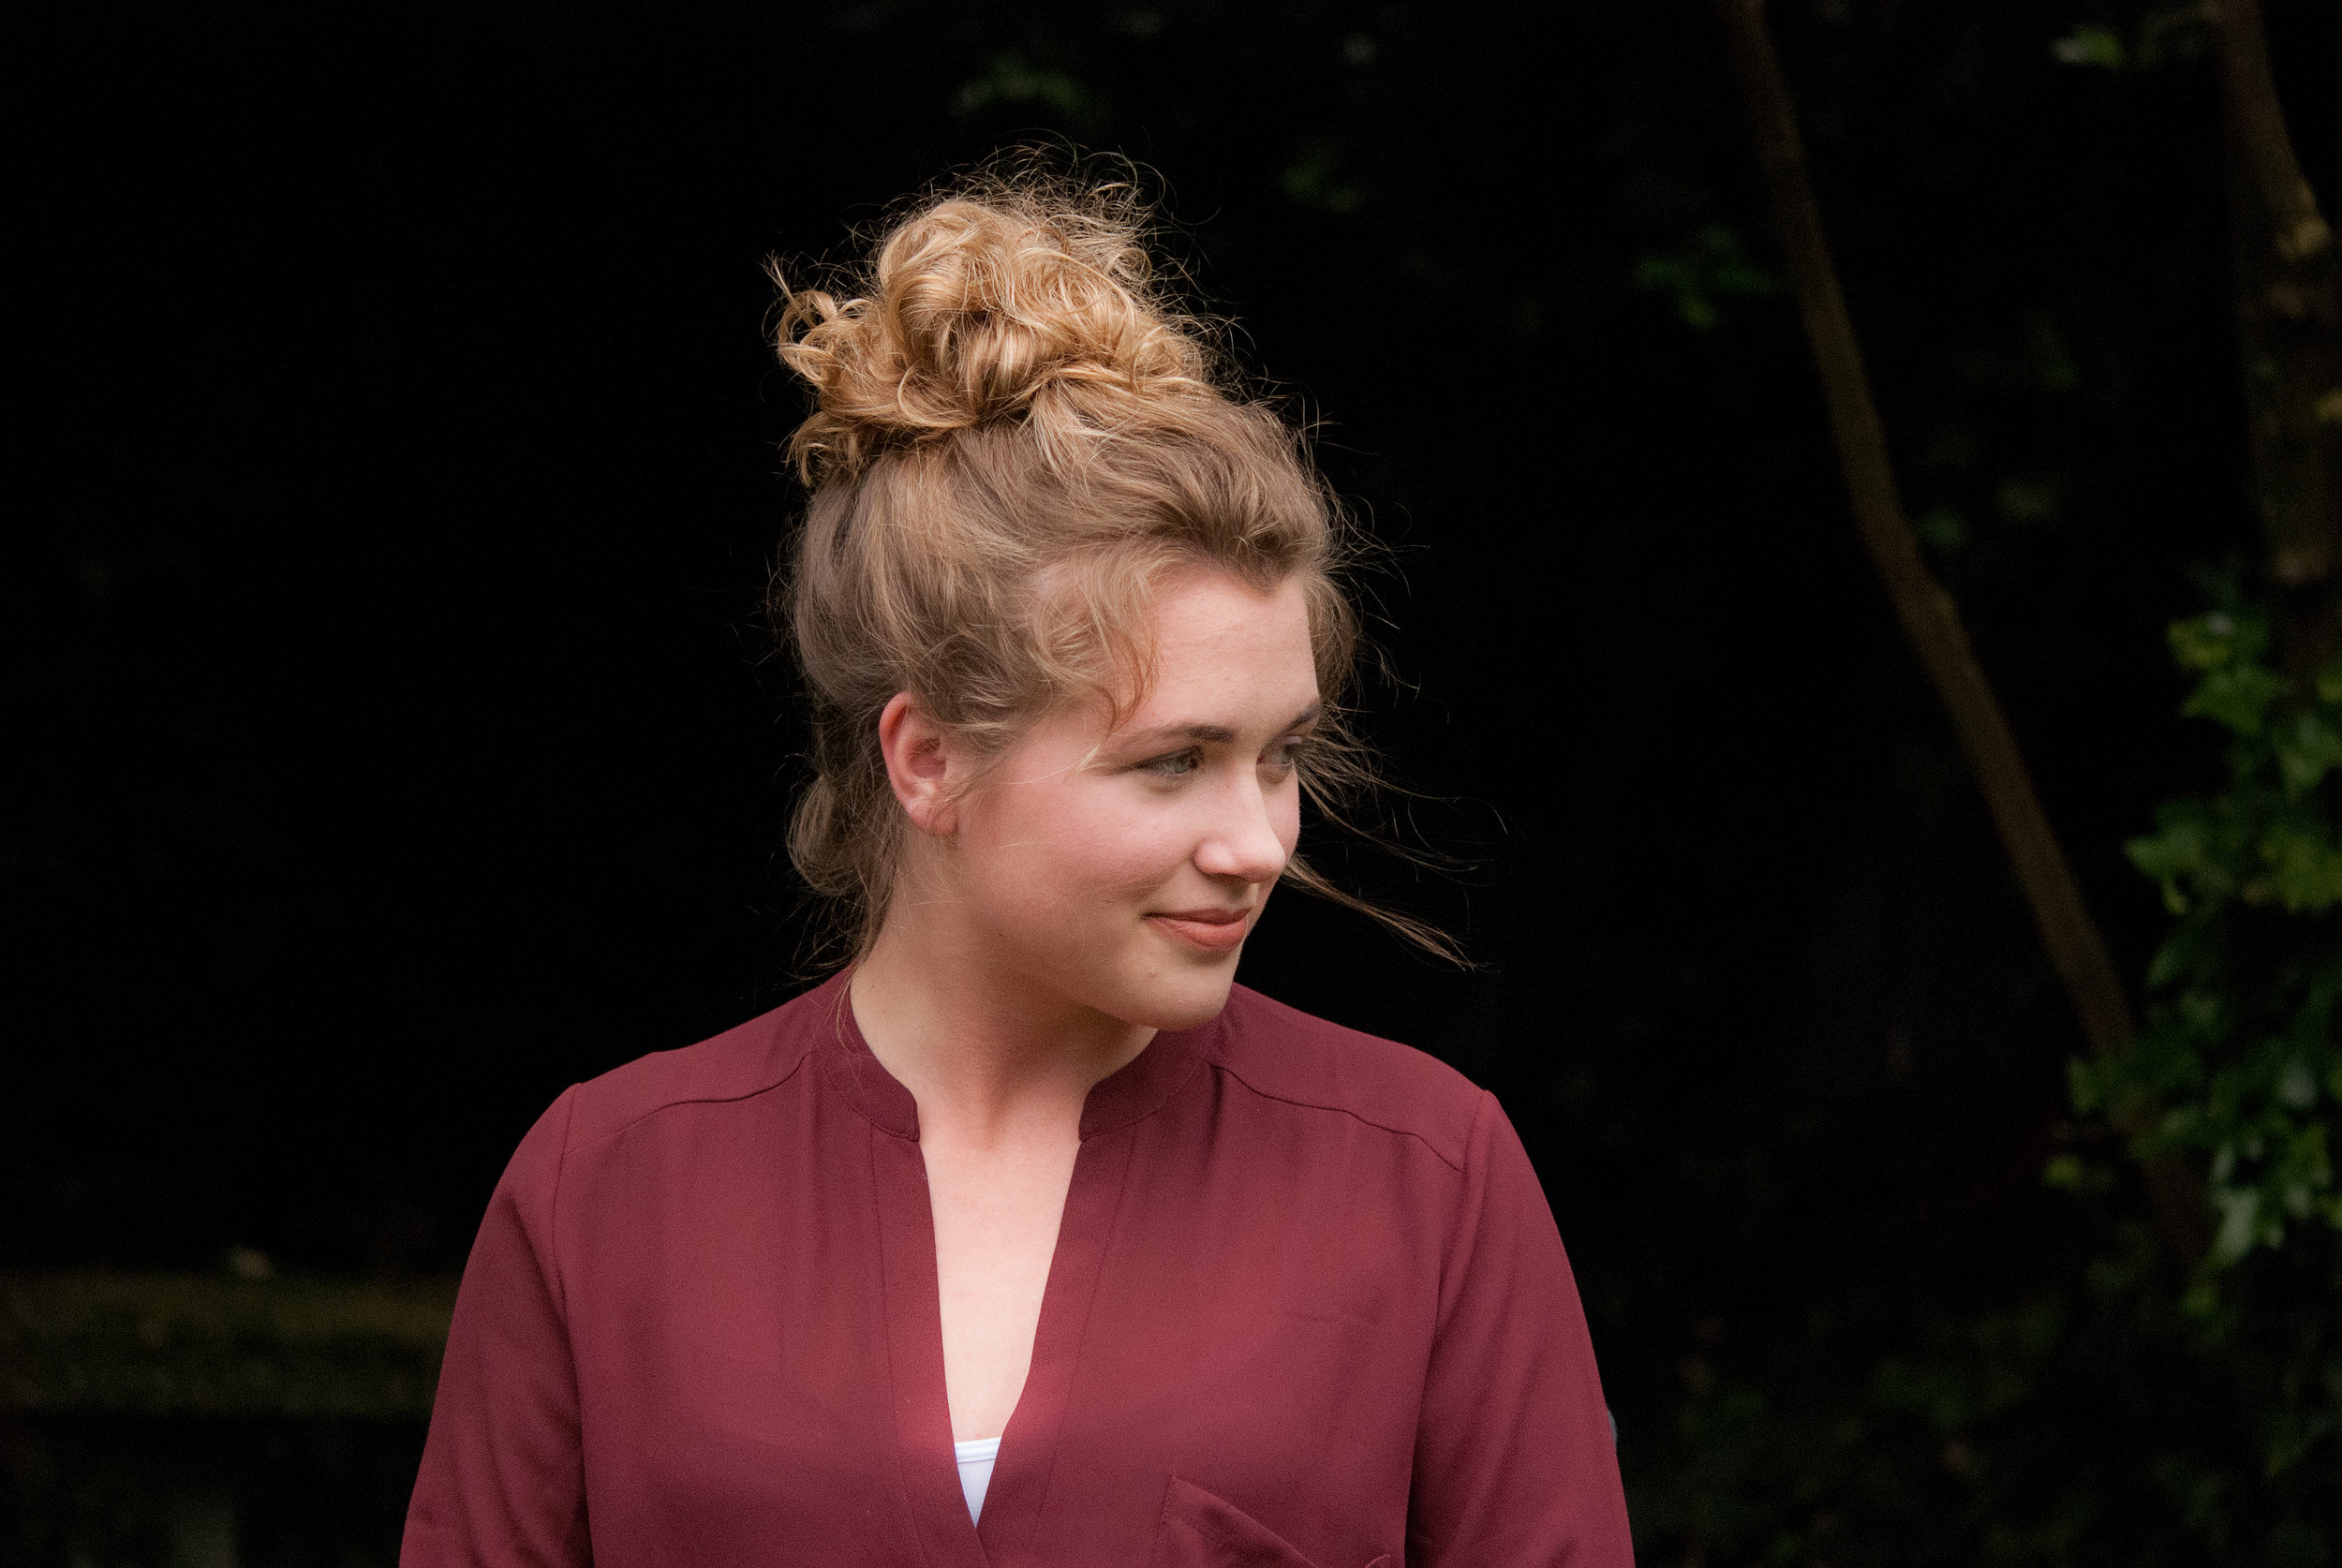
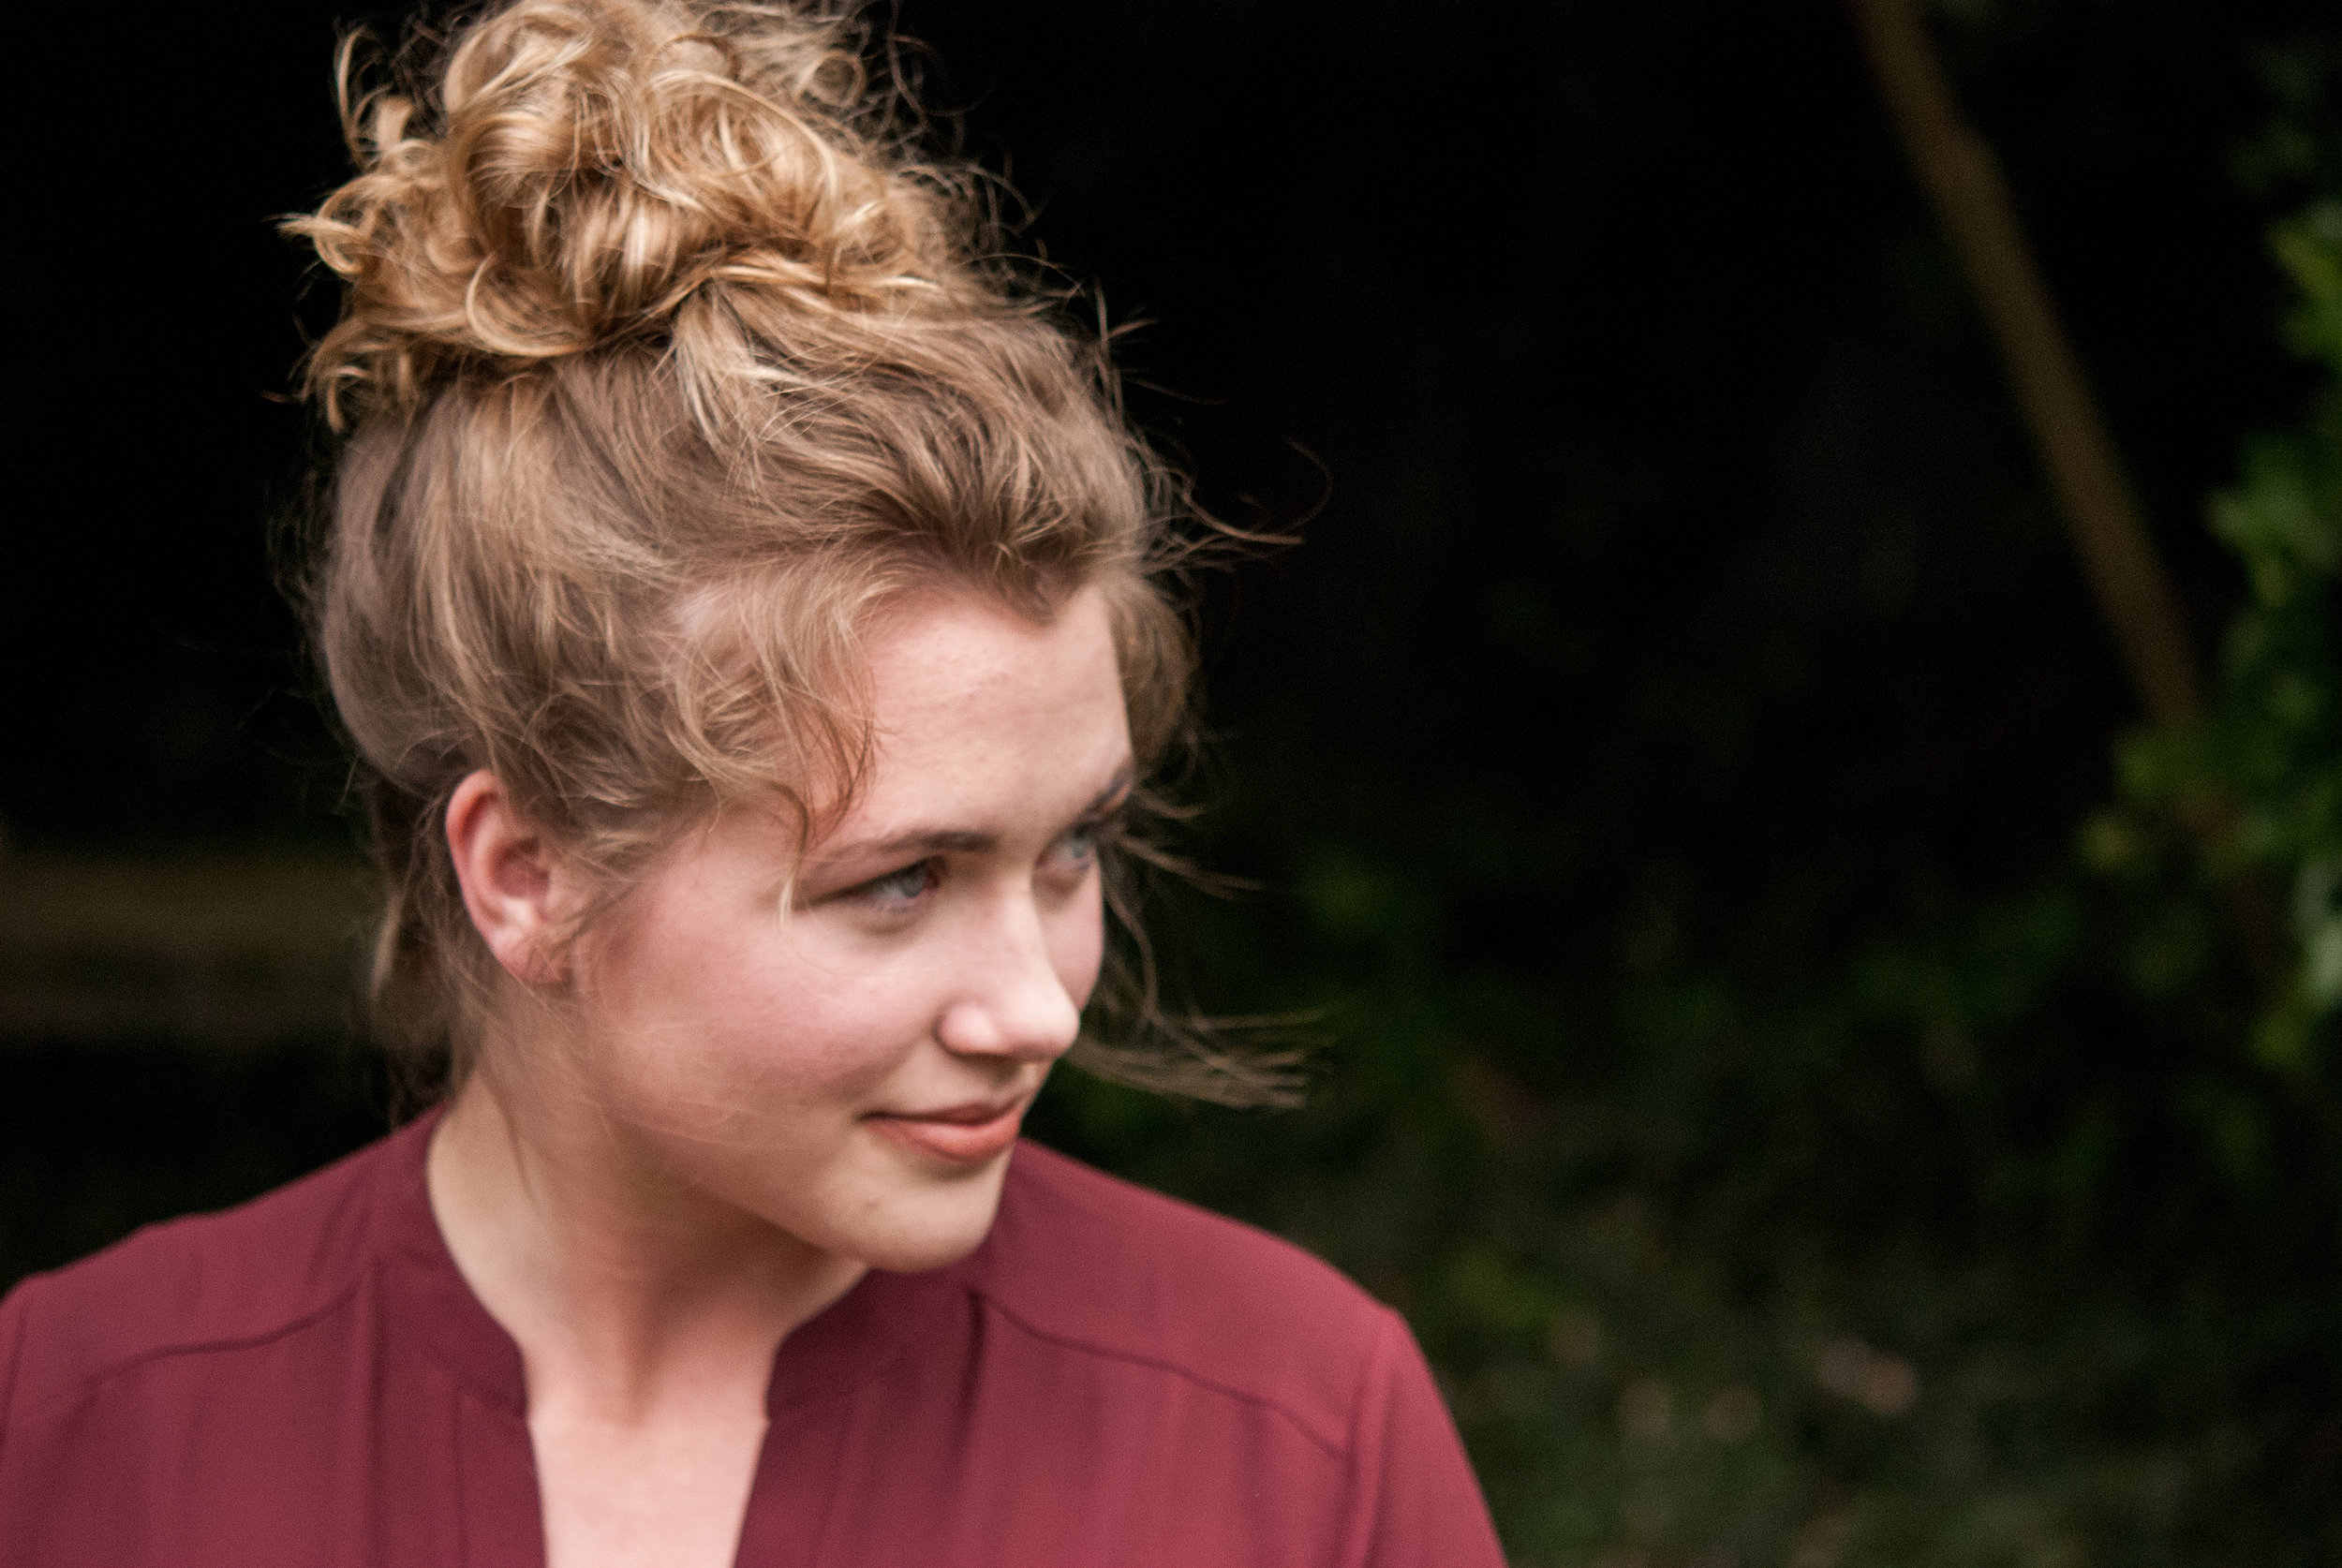
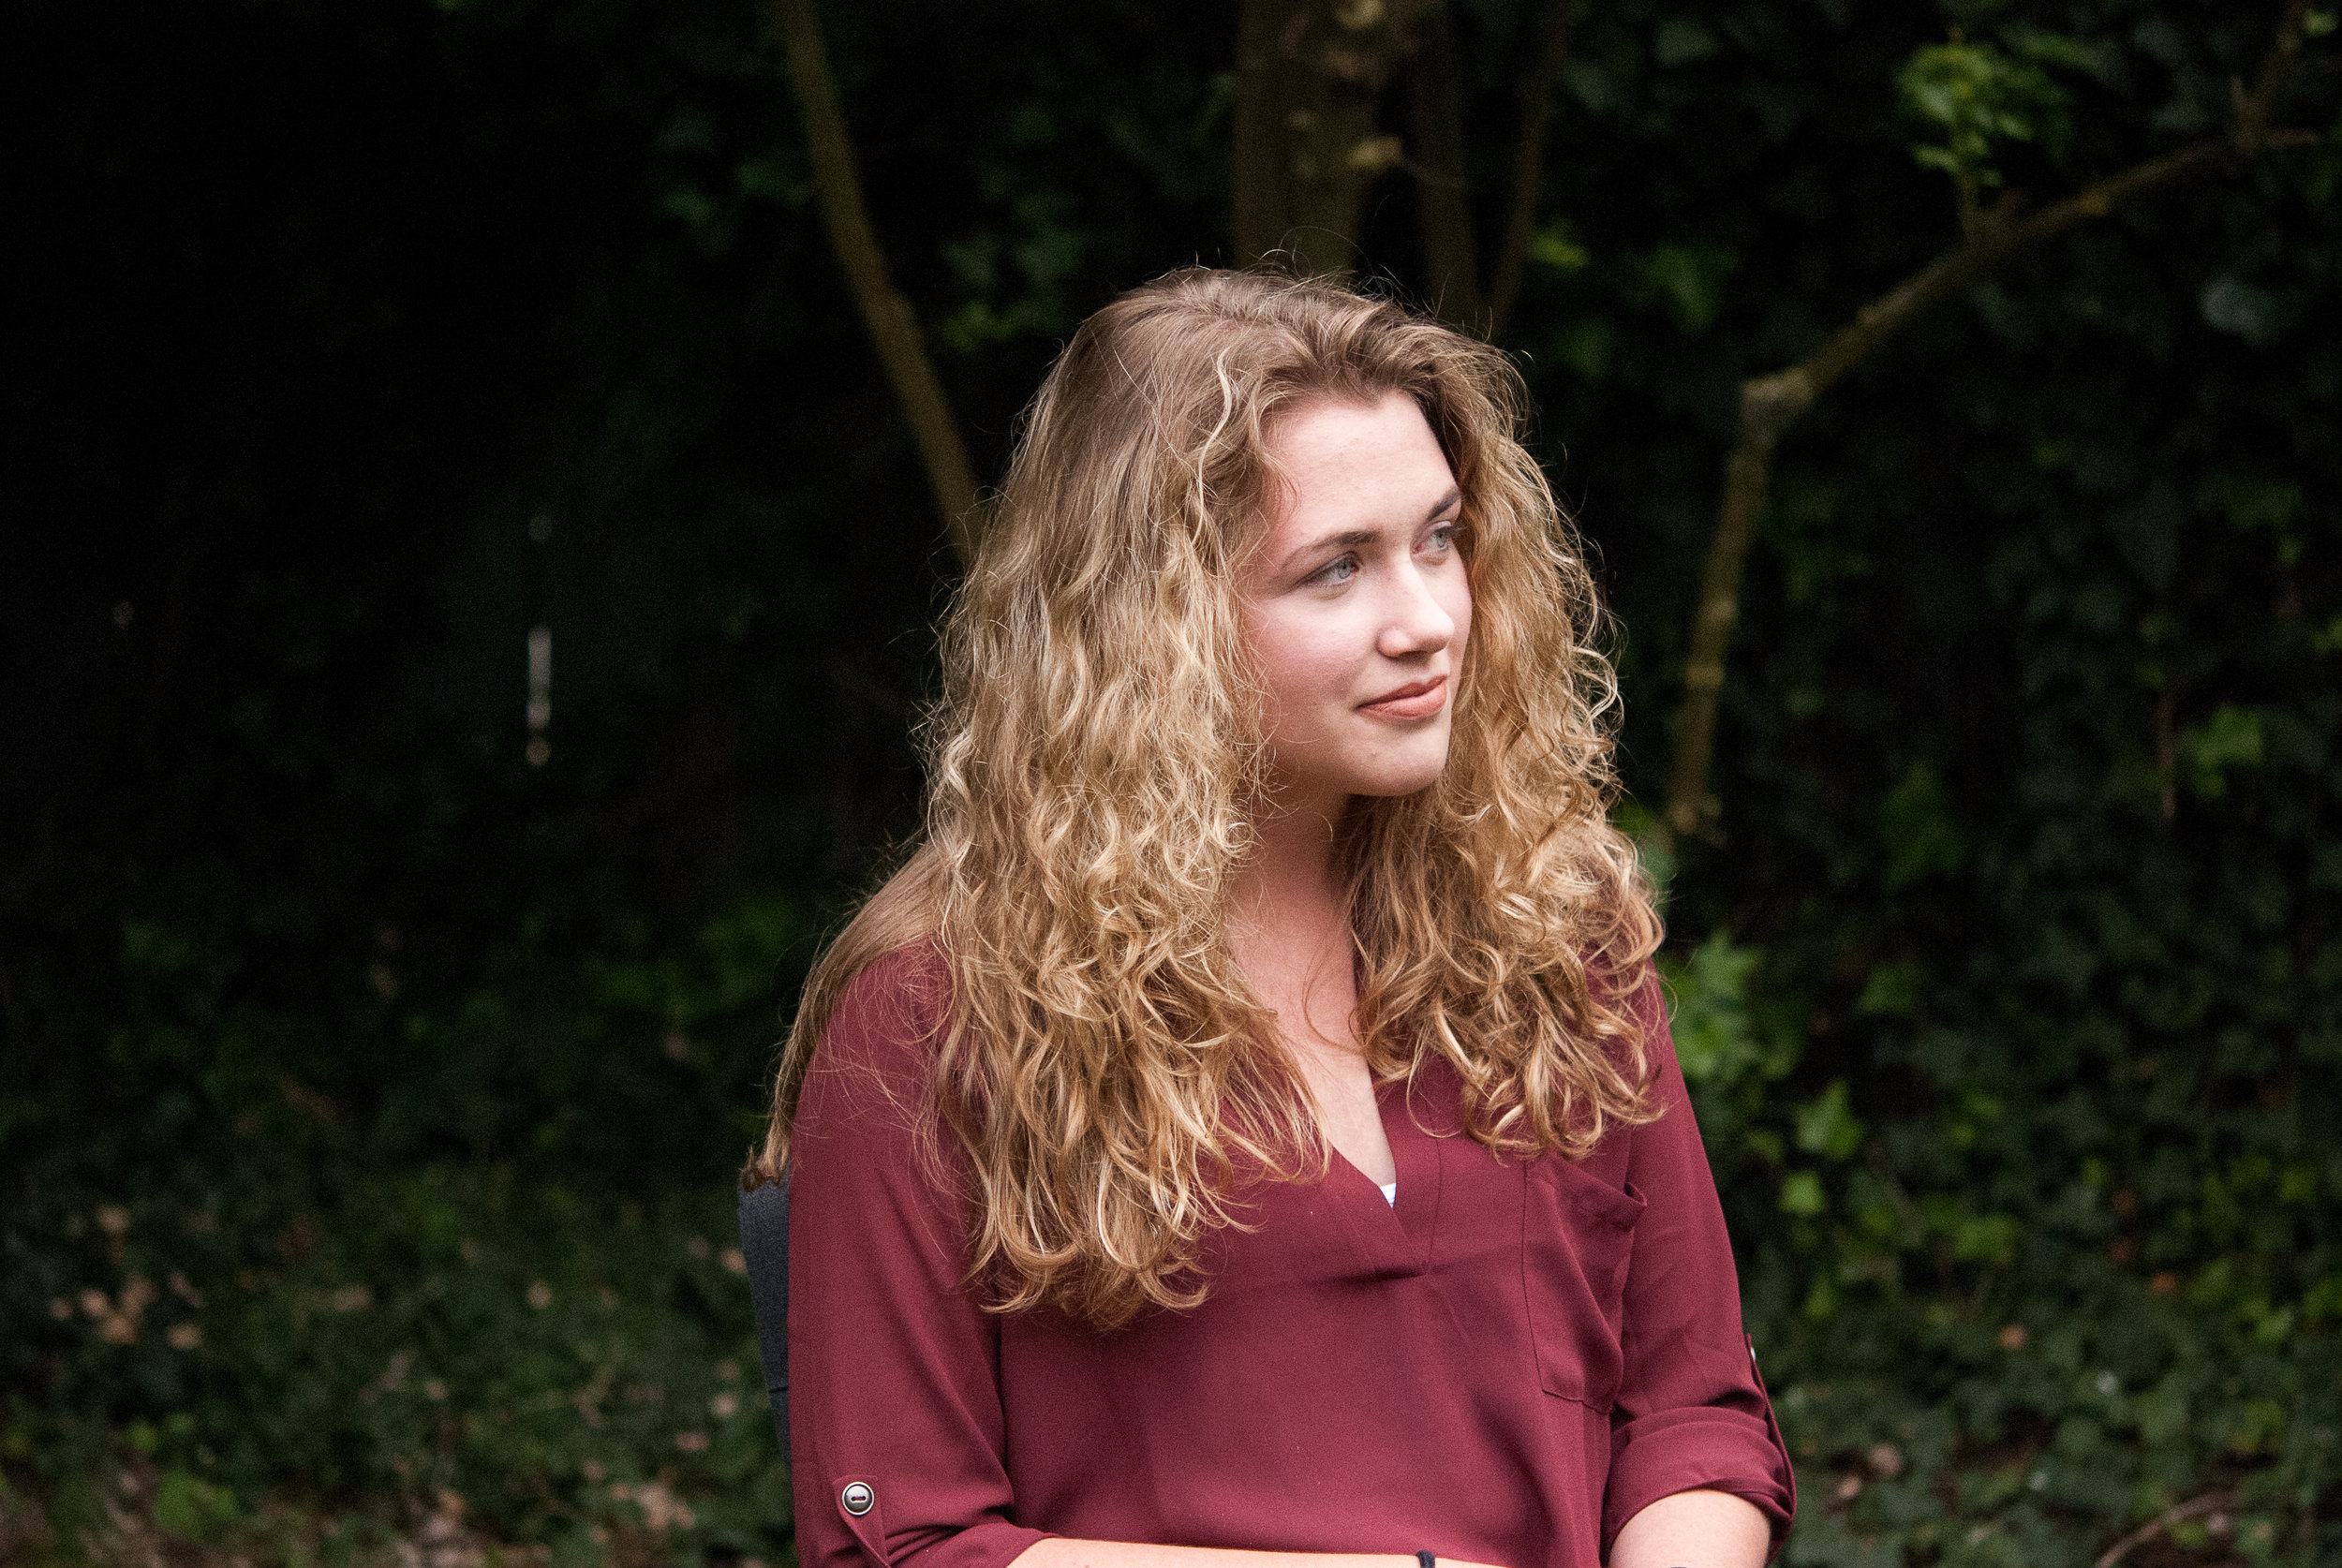
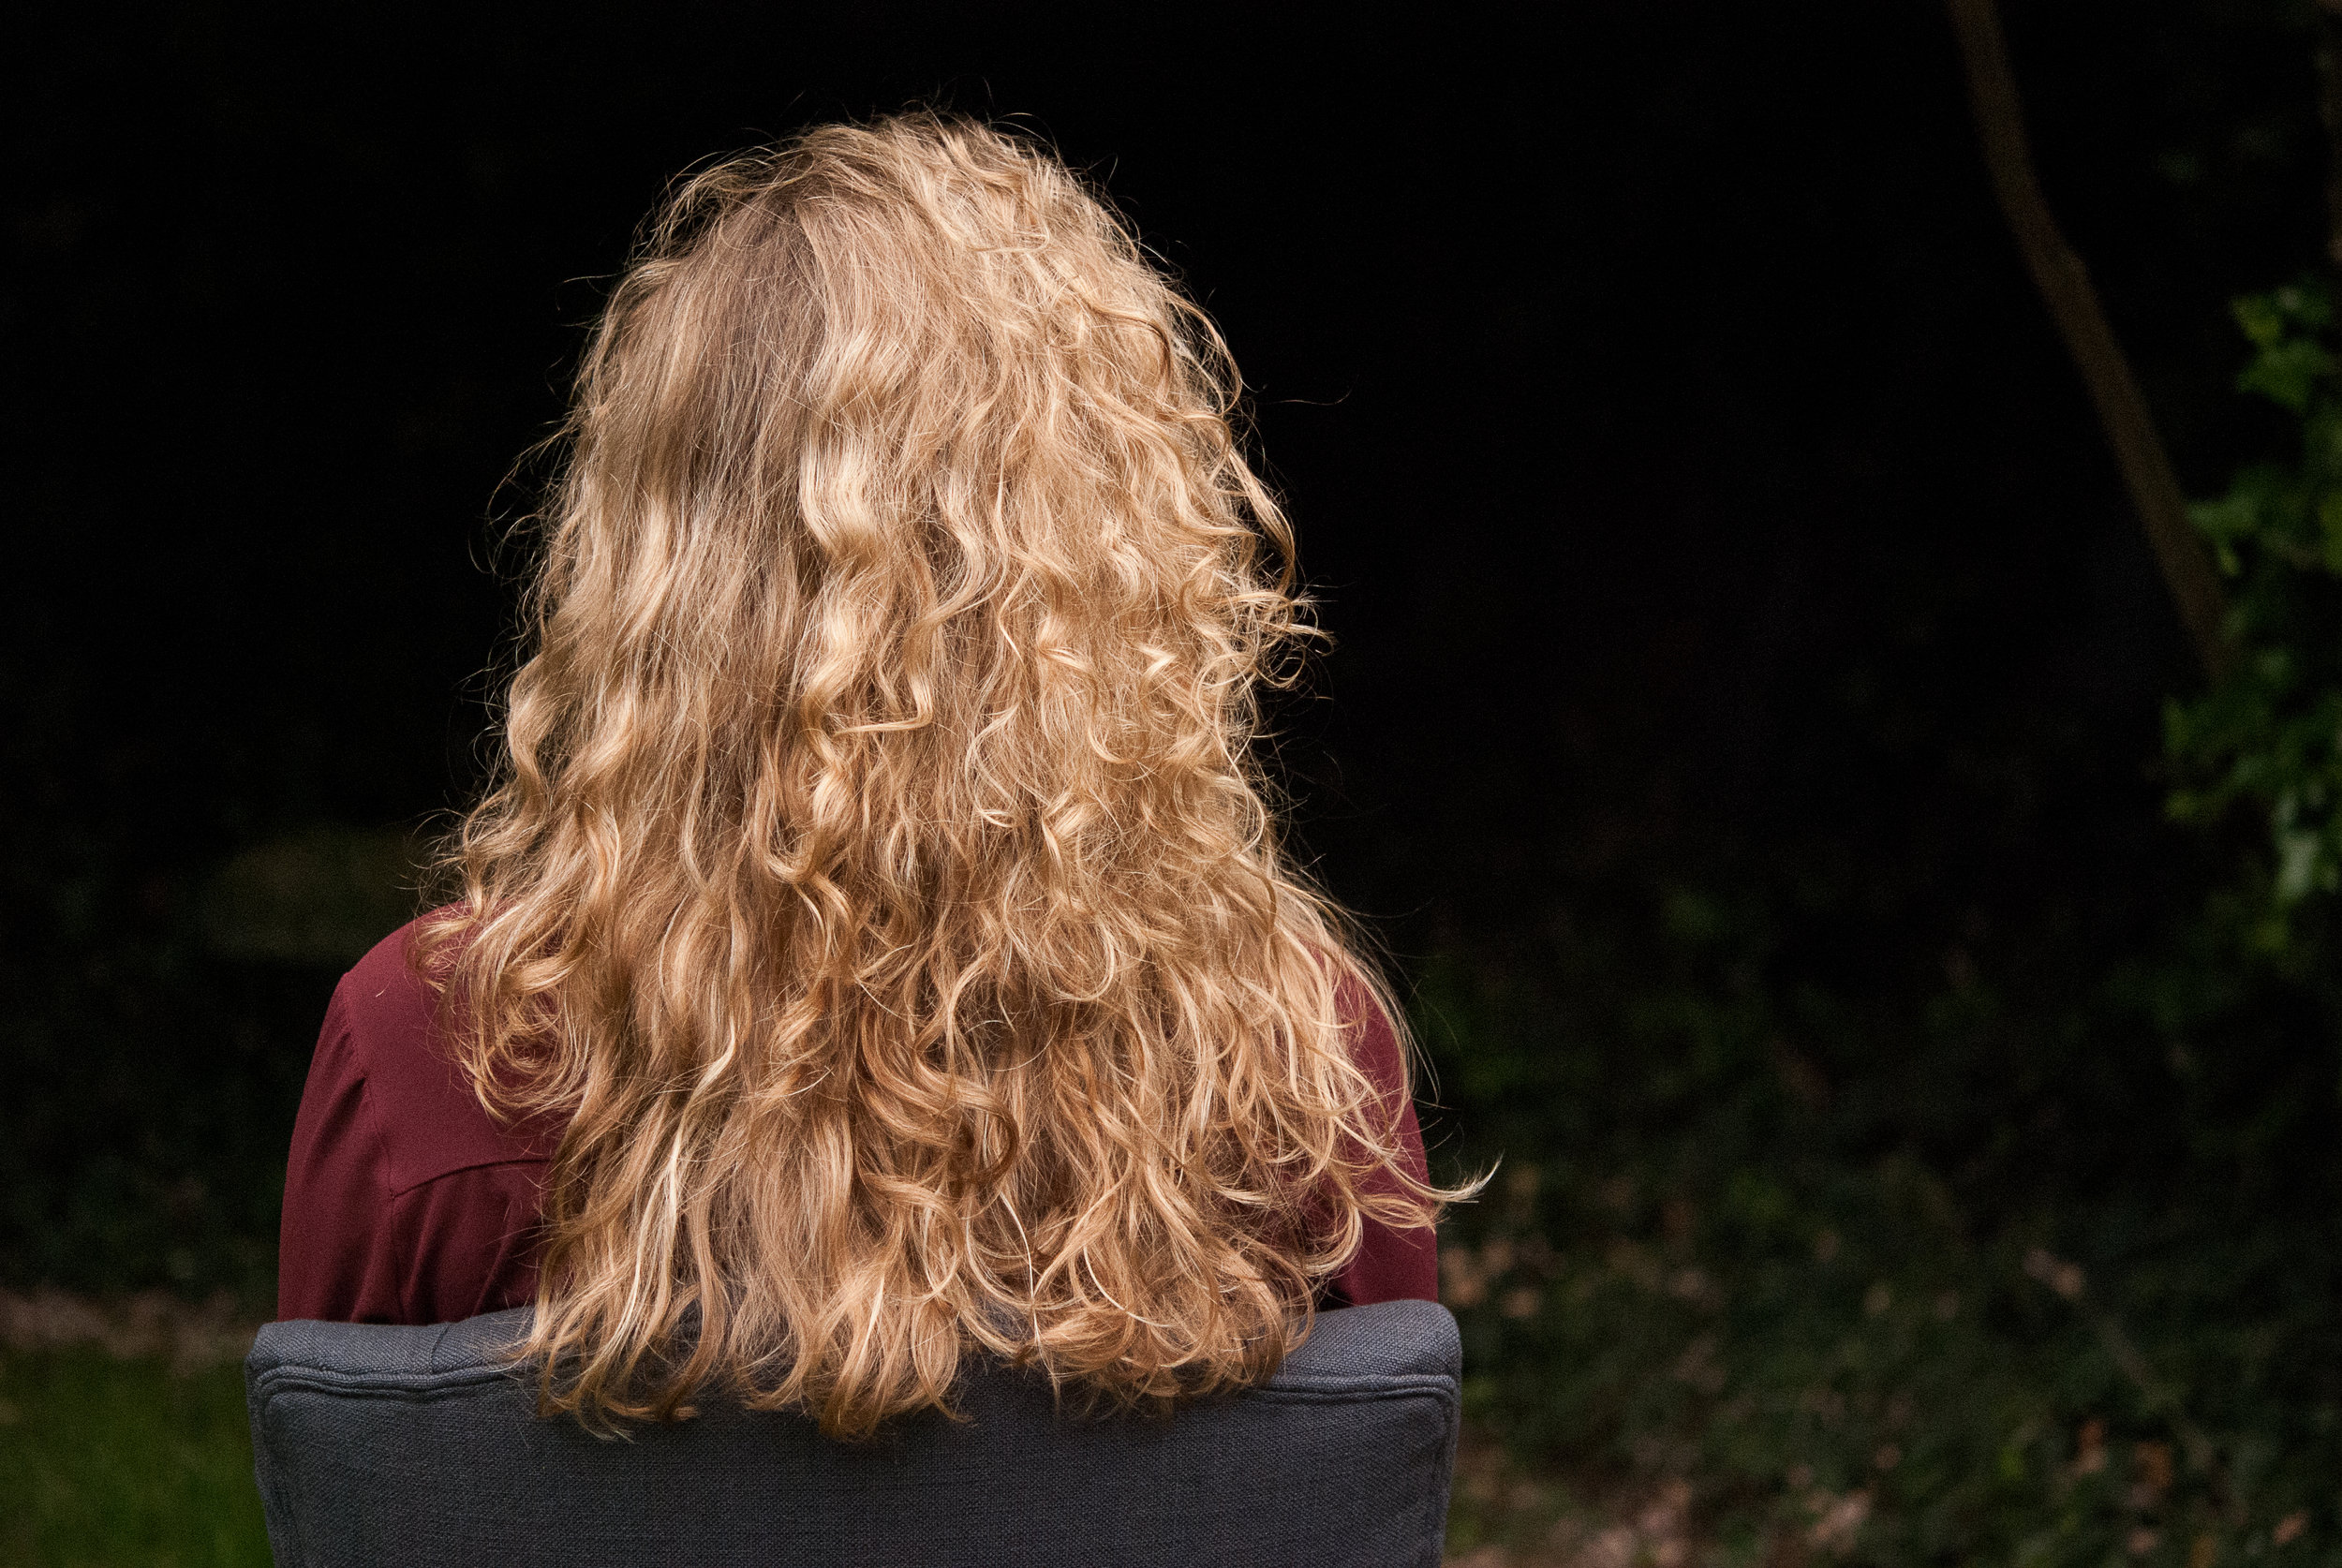
First, lets all take a moment to check out this girl's mane! Its amazing, and was a lot of fun to play with. Thank you Meagan, I am sure we will be using you and your gorgeous face and hair for future blog posts!! Now on to the tutorial!
First step would be to take a top section and pin it up out of the way, leaving a nice bottom section for your braid.
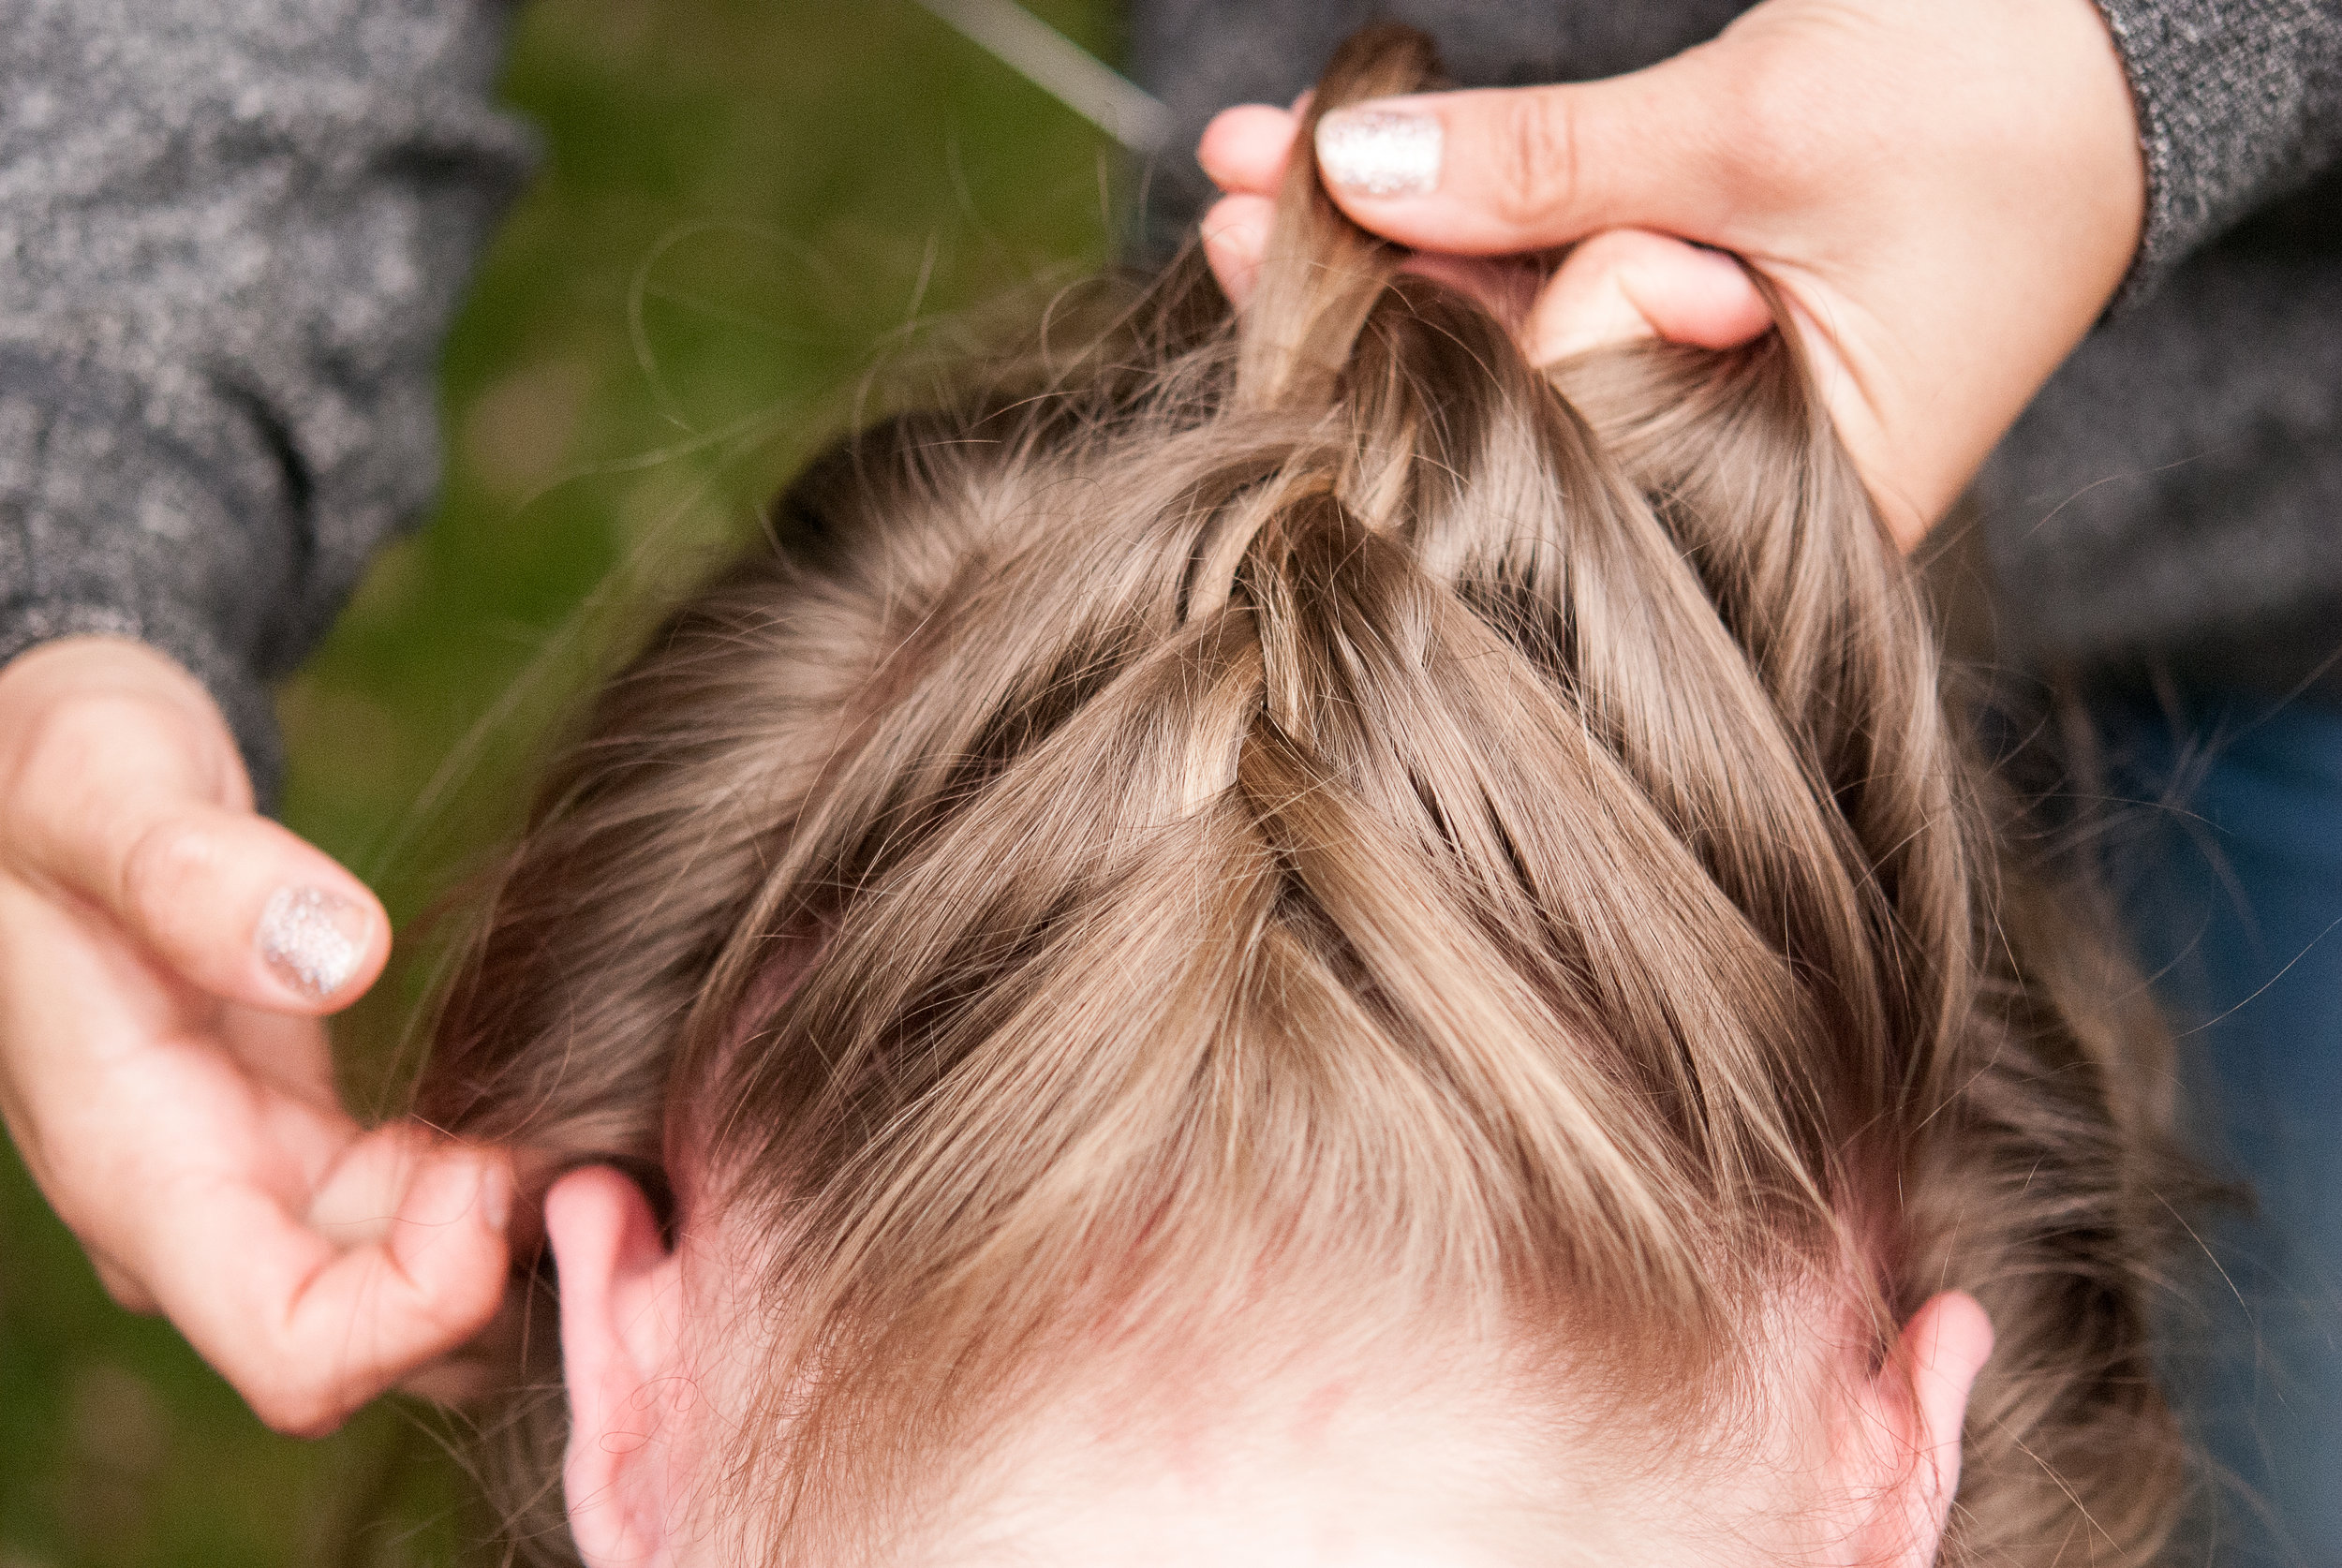
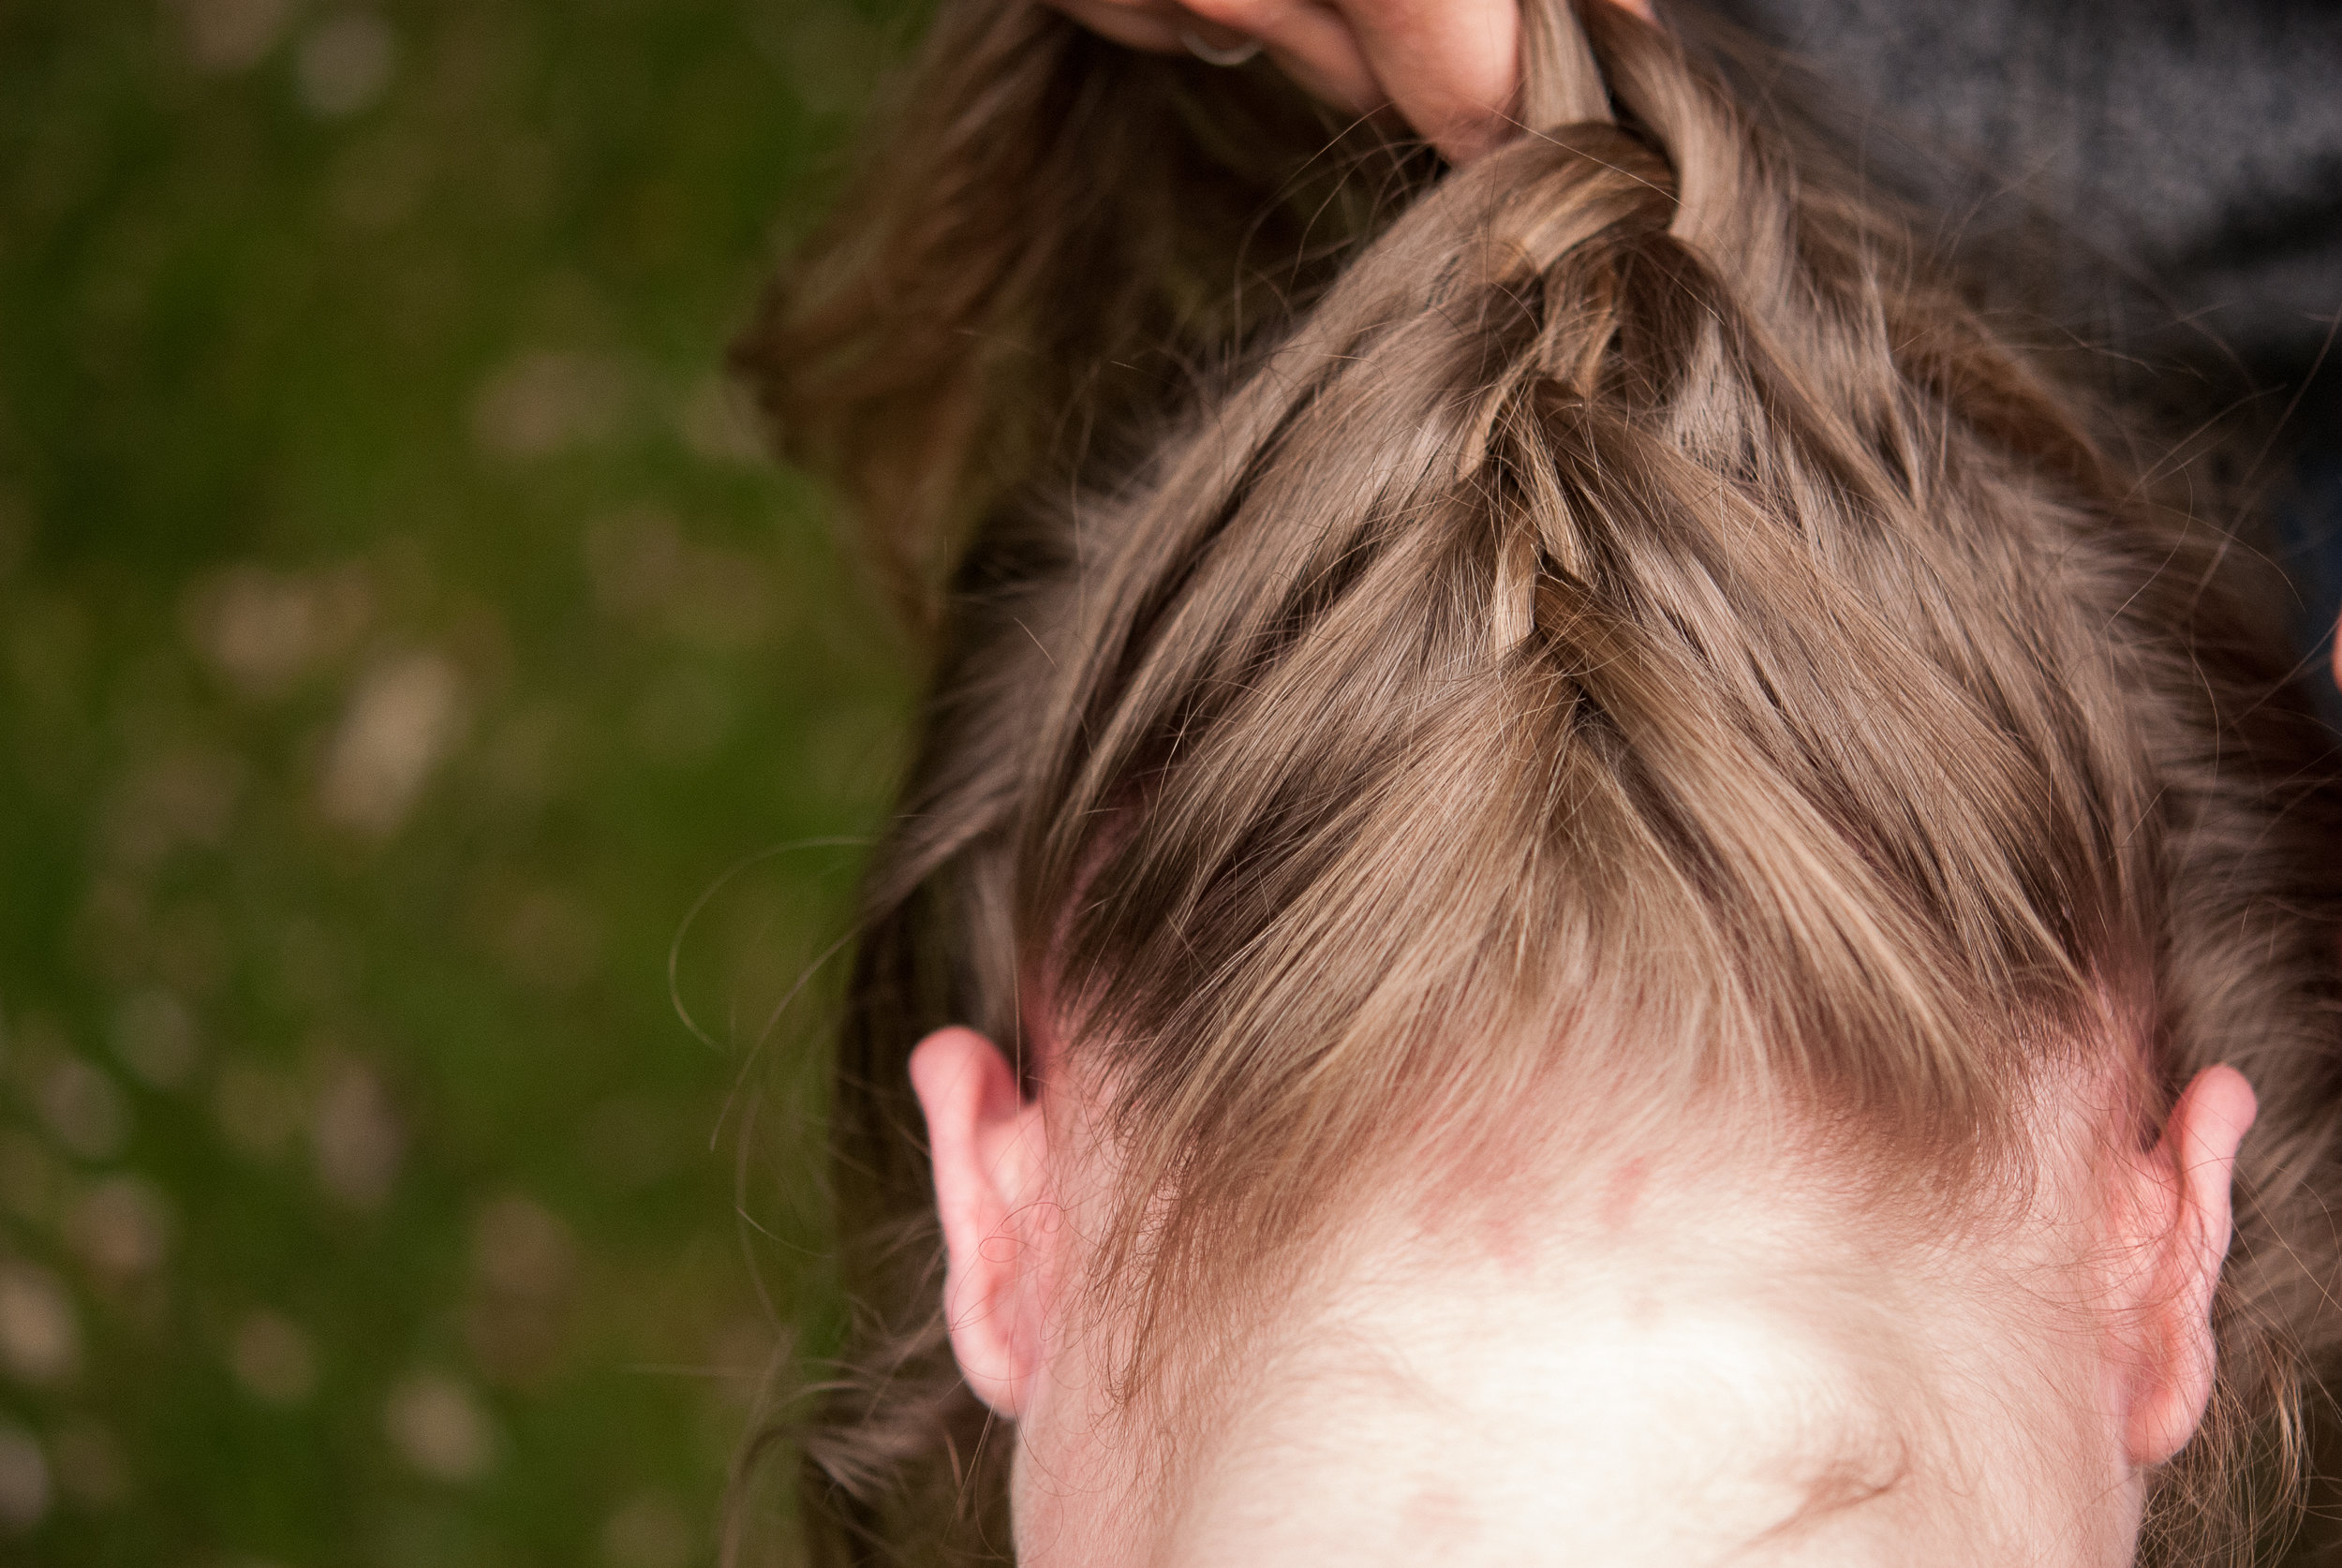
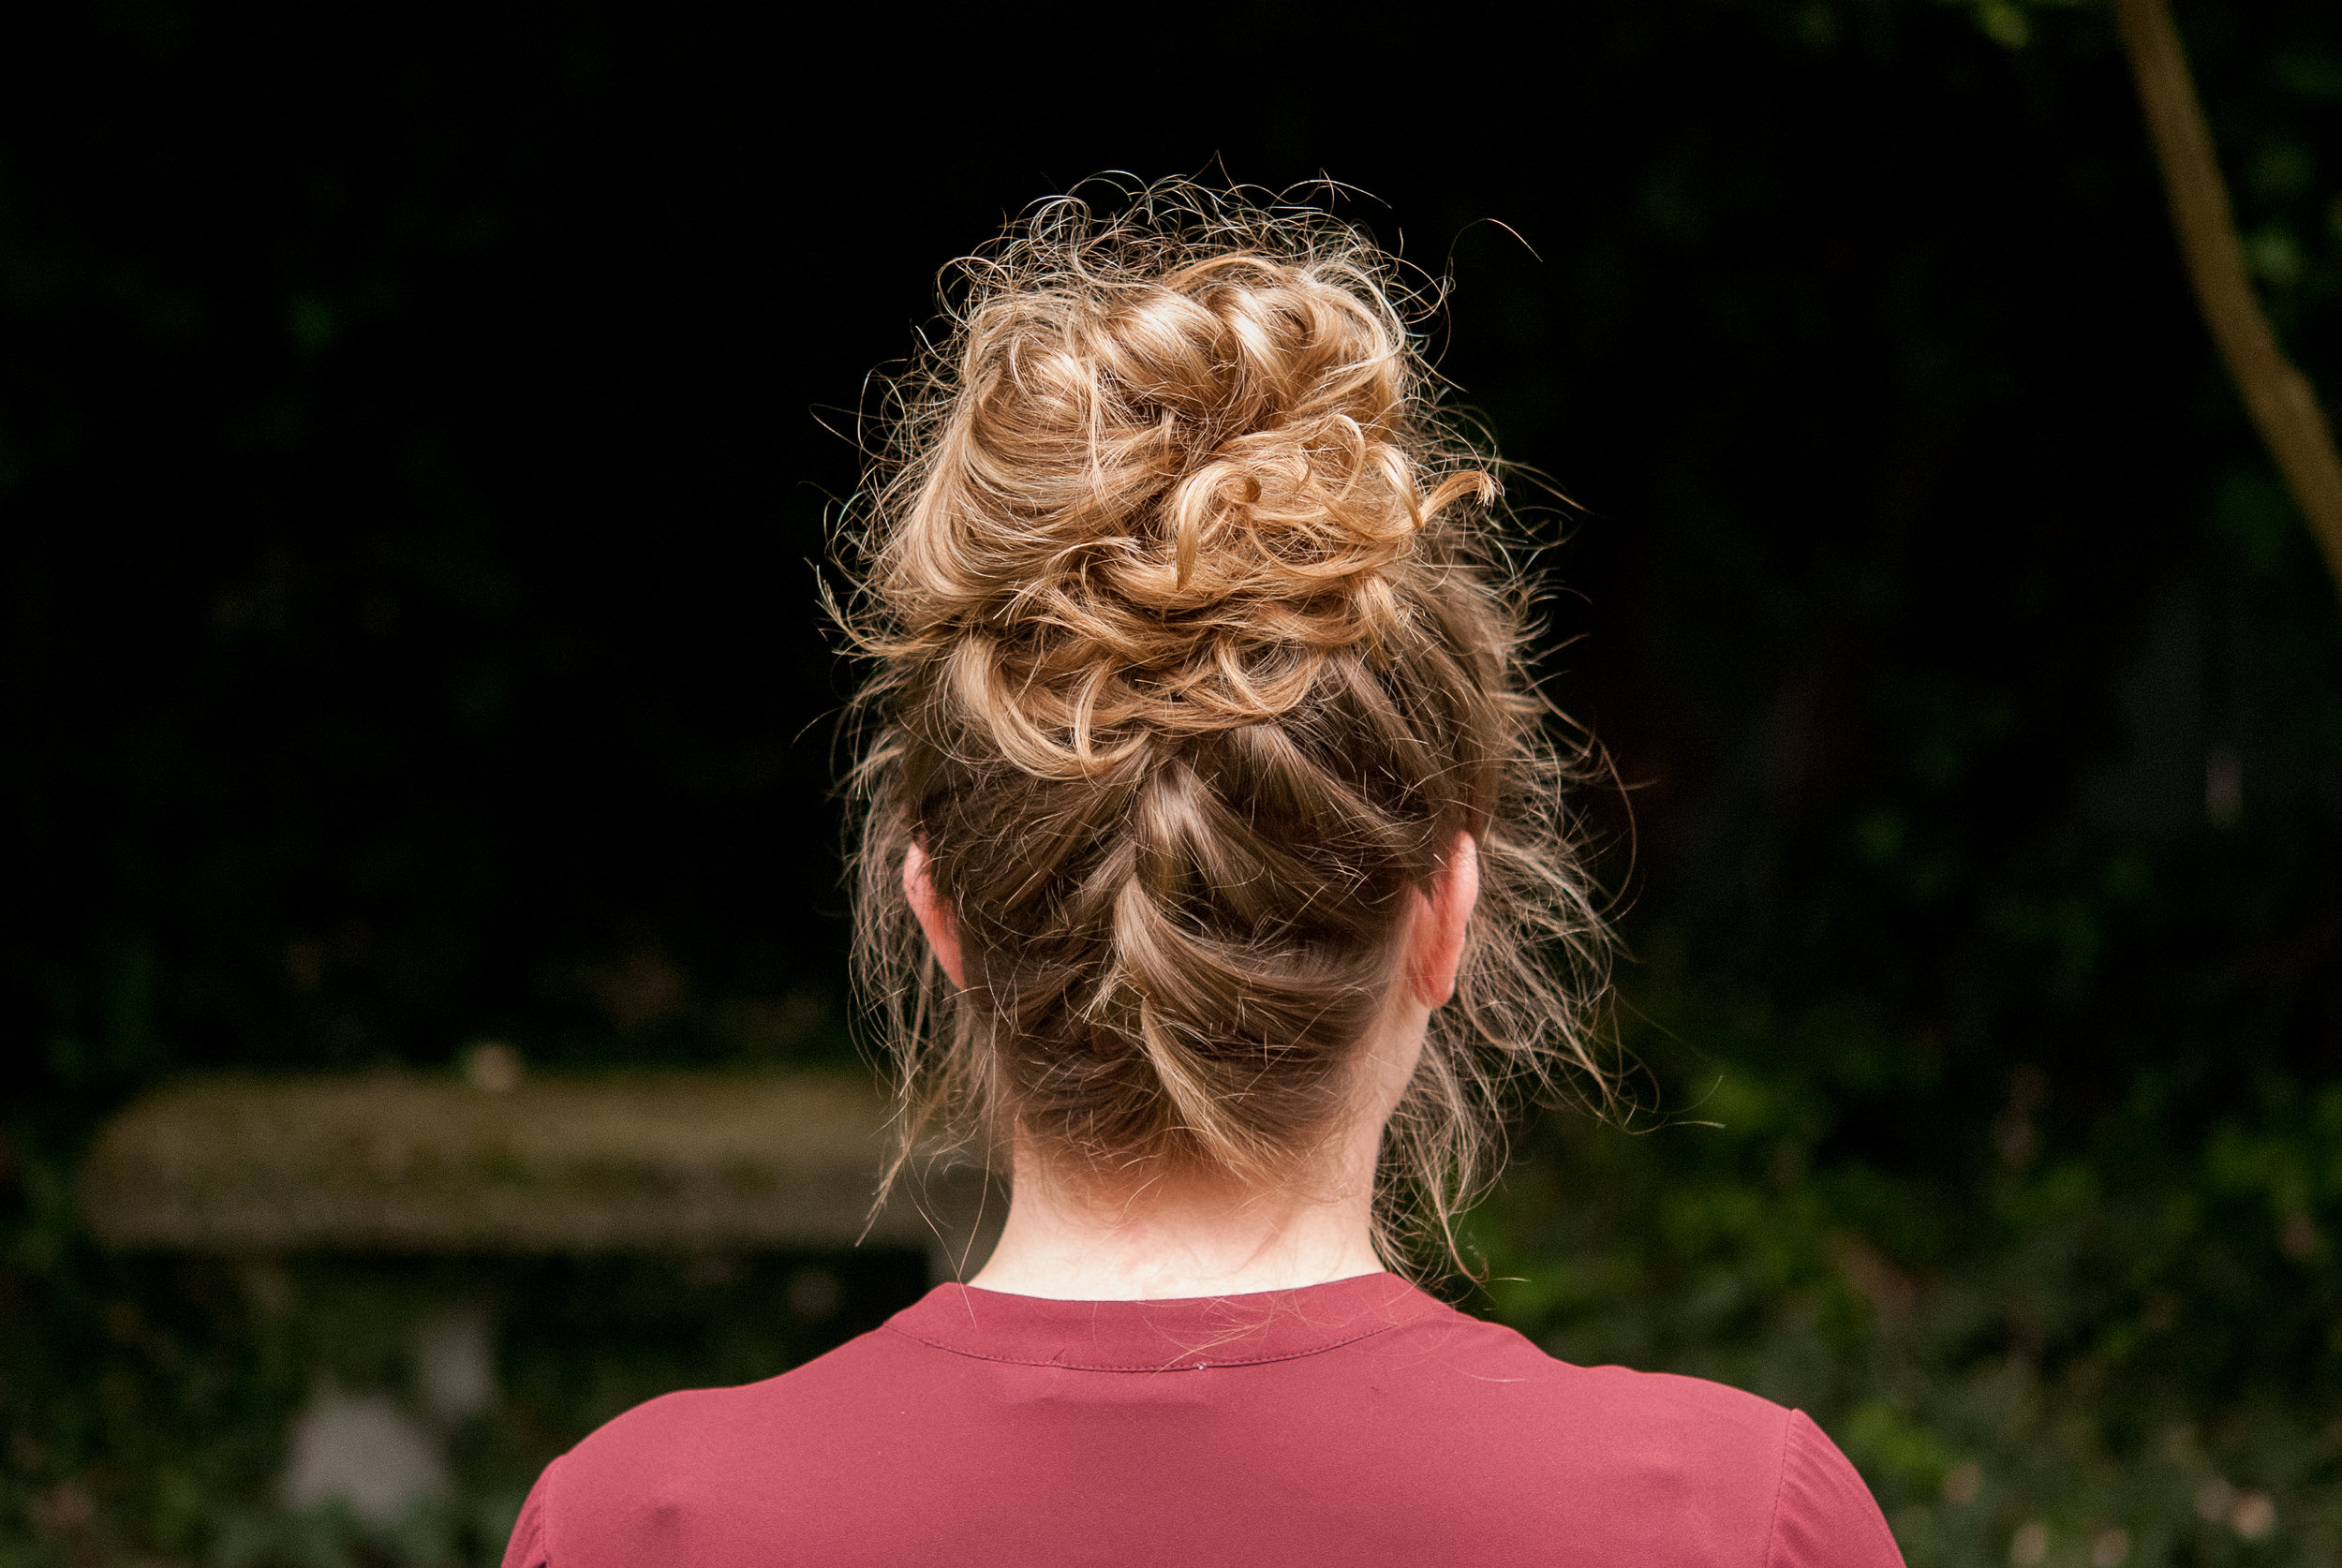
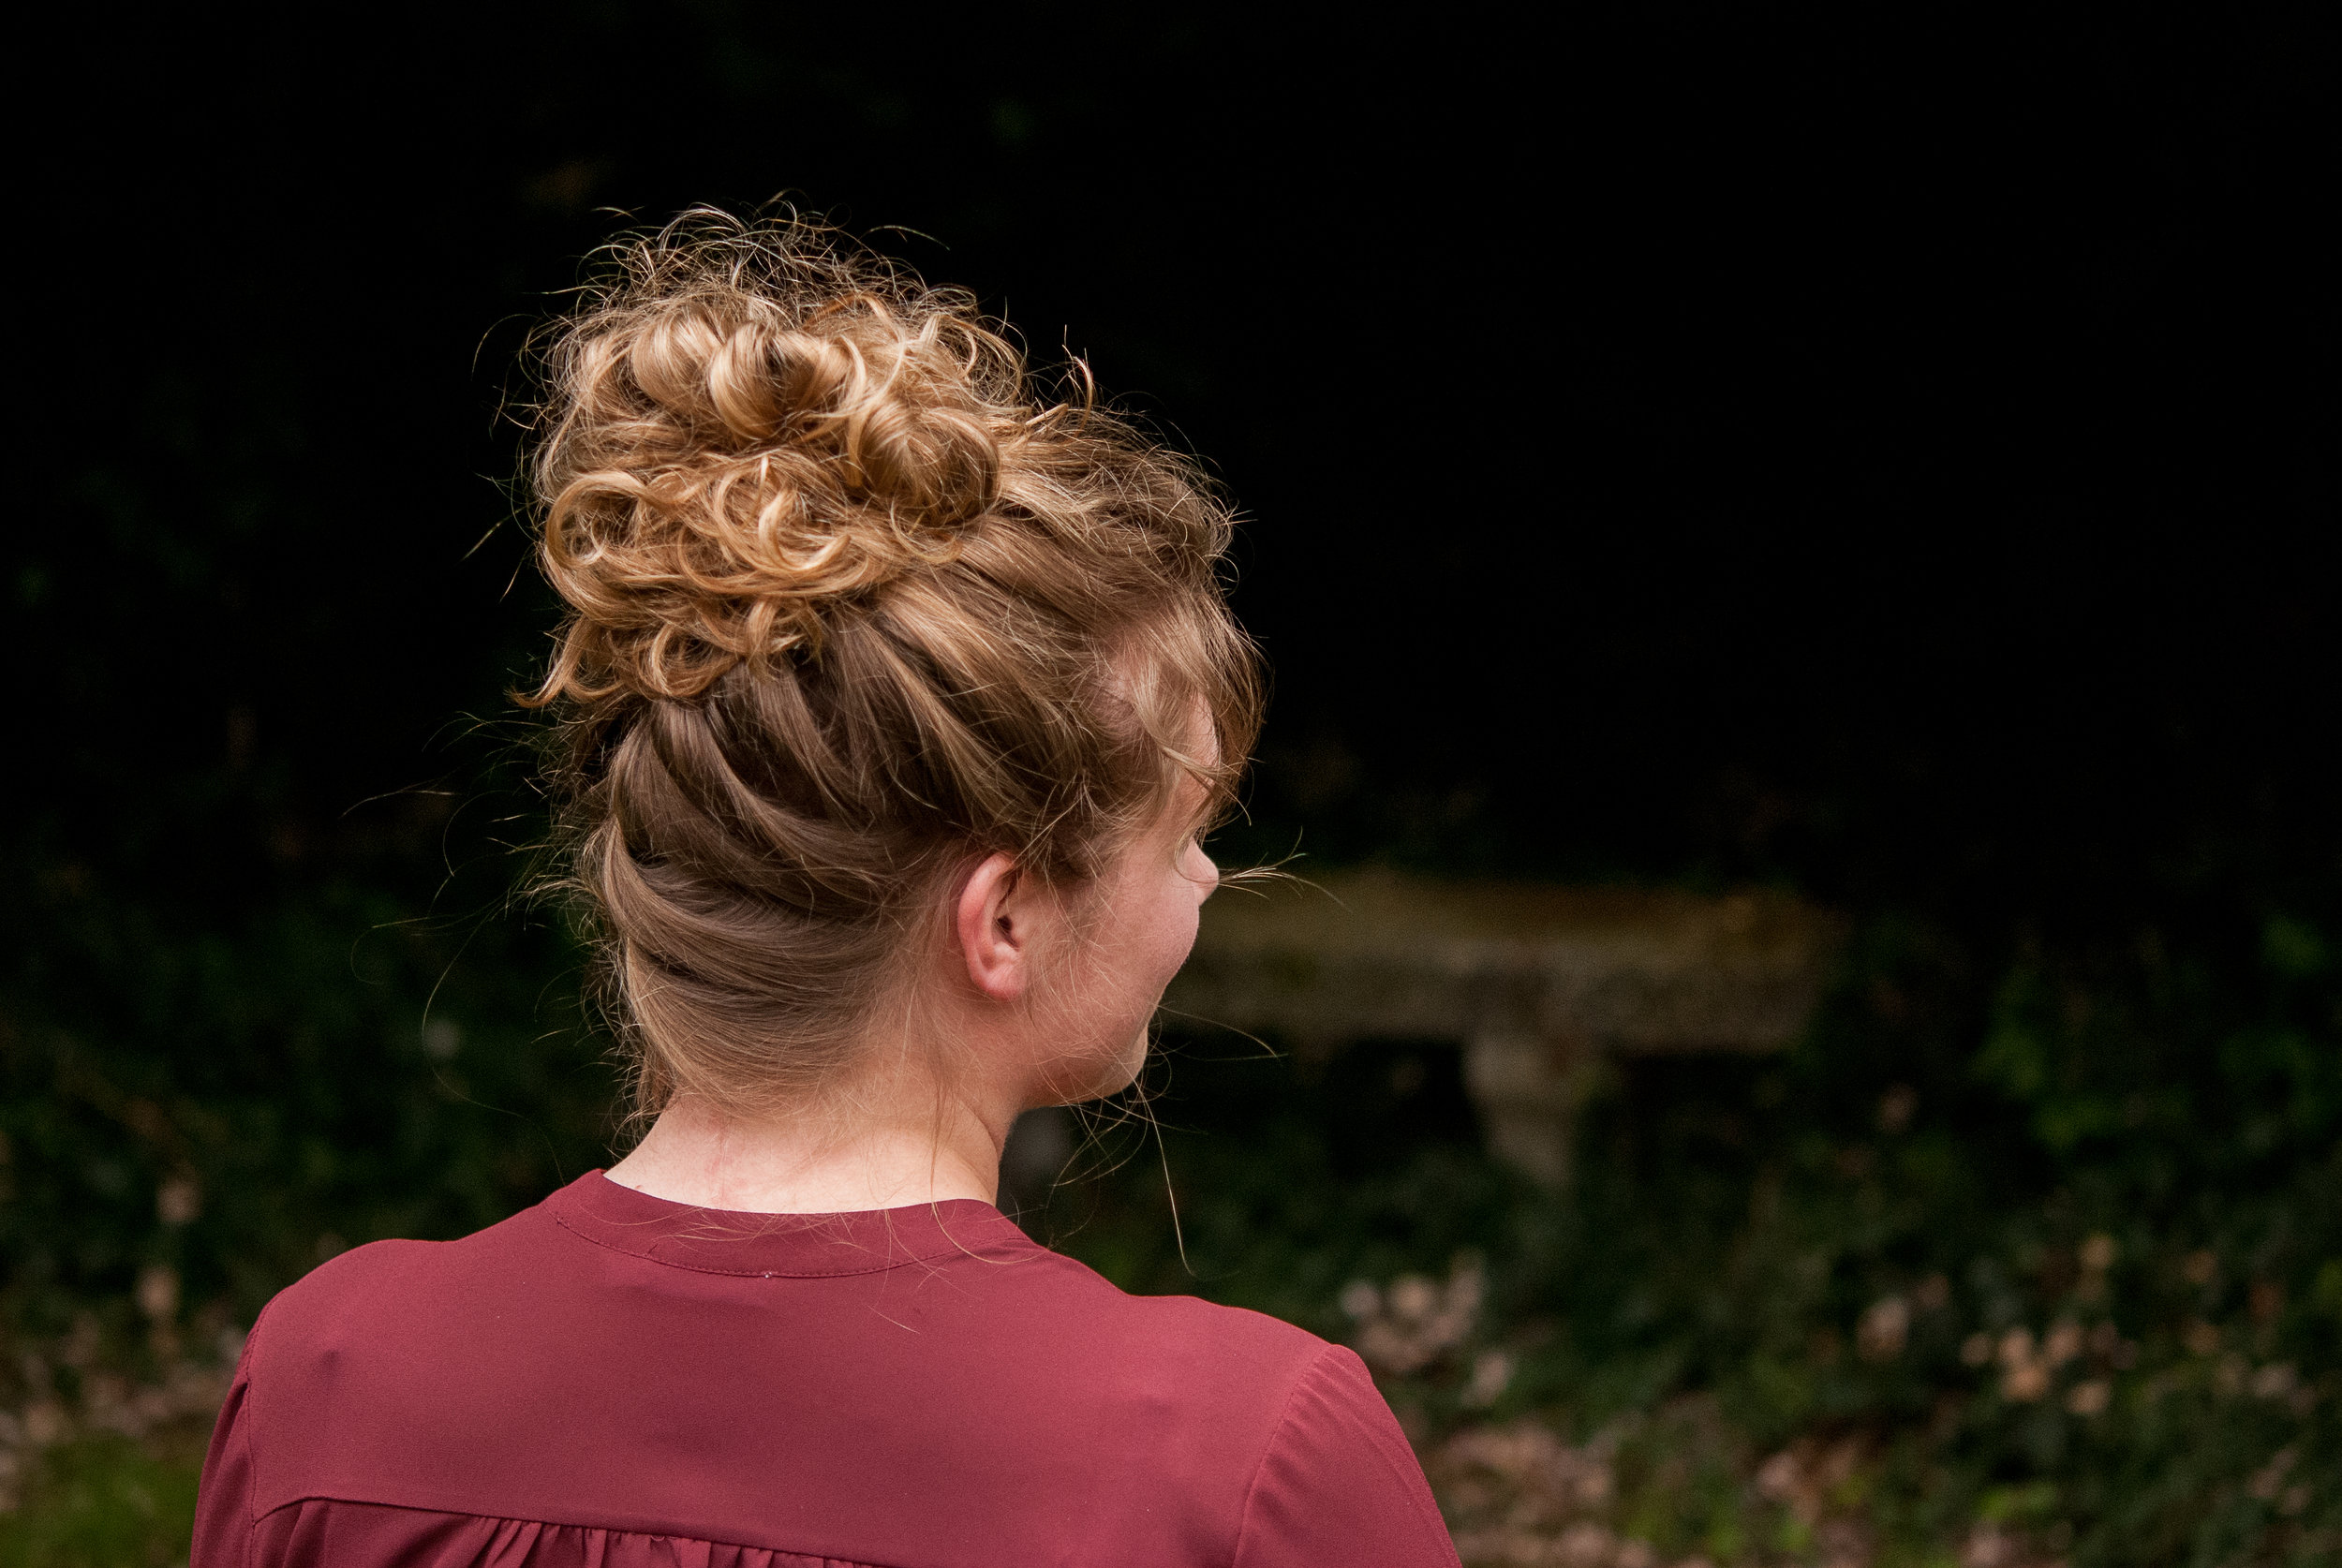
Ok, and here is where my struggle began! This is just a typical French braid, started at the bottom of her hairline going up, but trying to do it upside down was the death of me! I finally made Meagan flip her head over so I could do it that way! No worries though you guys, I am still practicing doing it on myself and once I perfect it I will post a picture or video for proof!
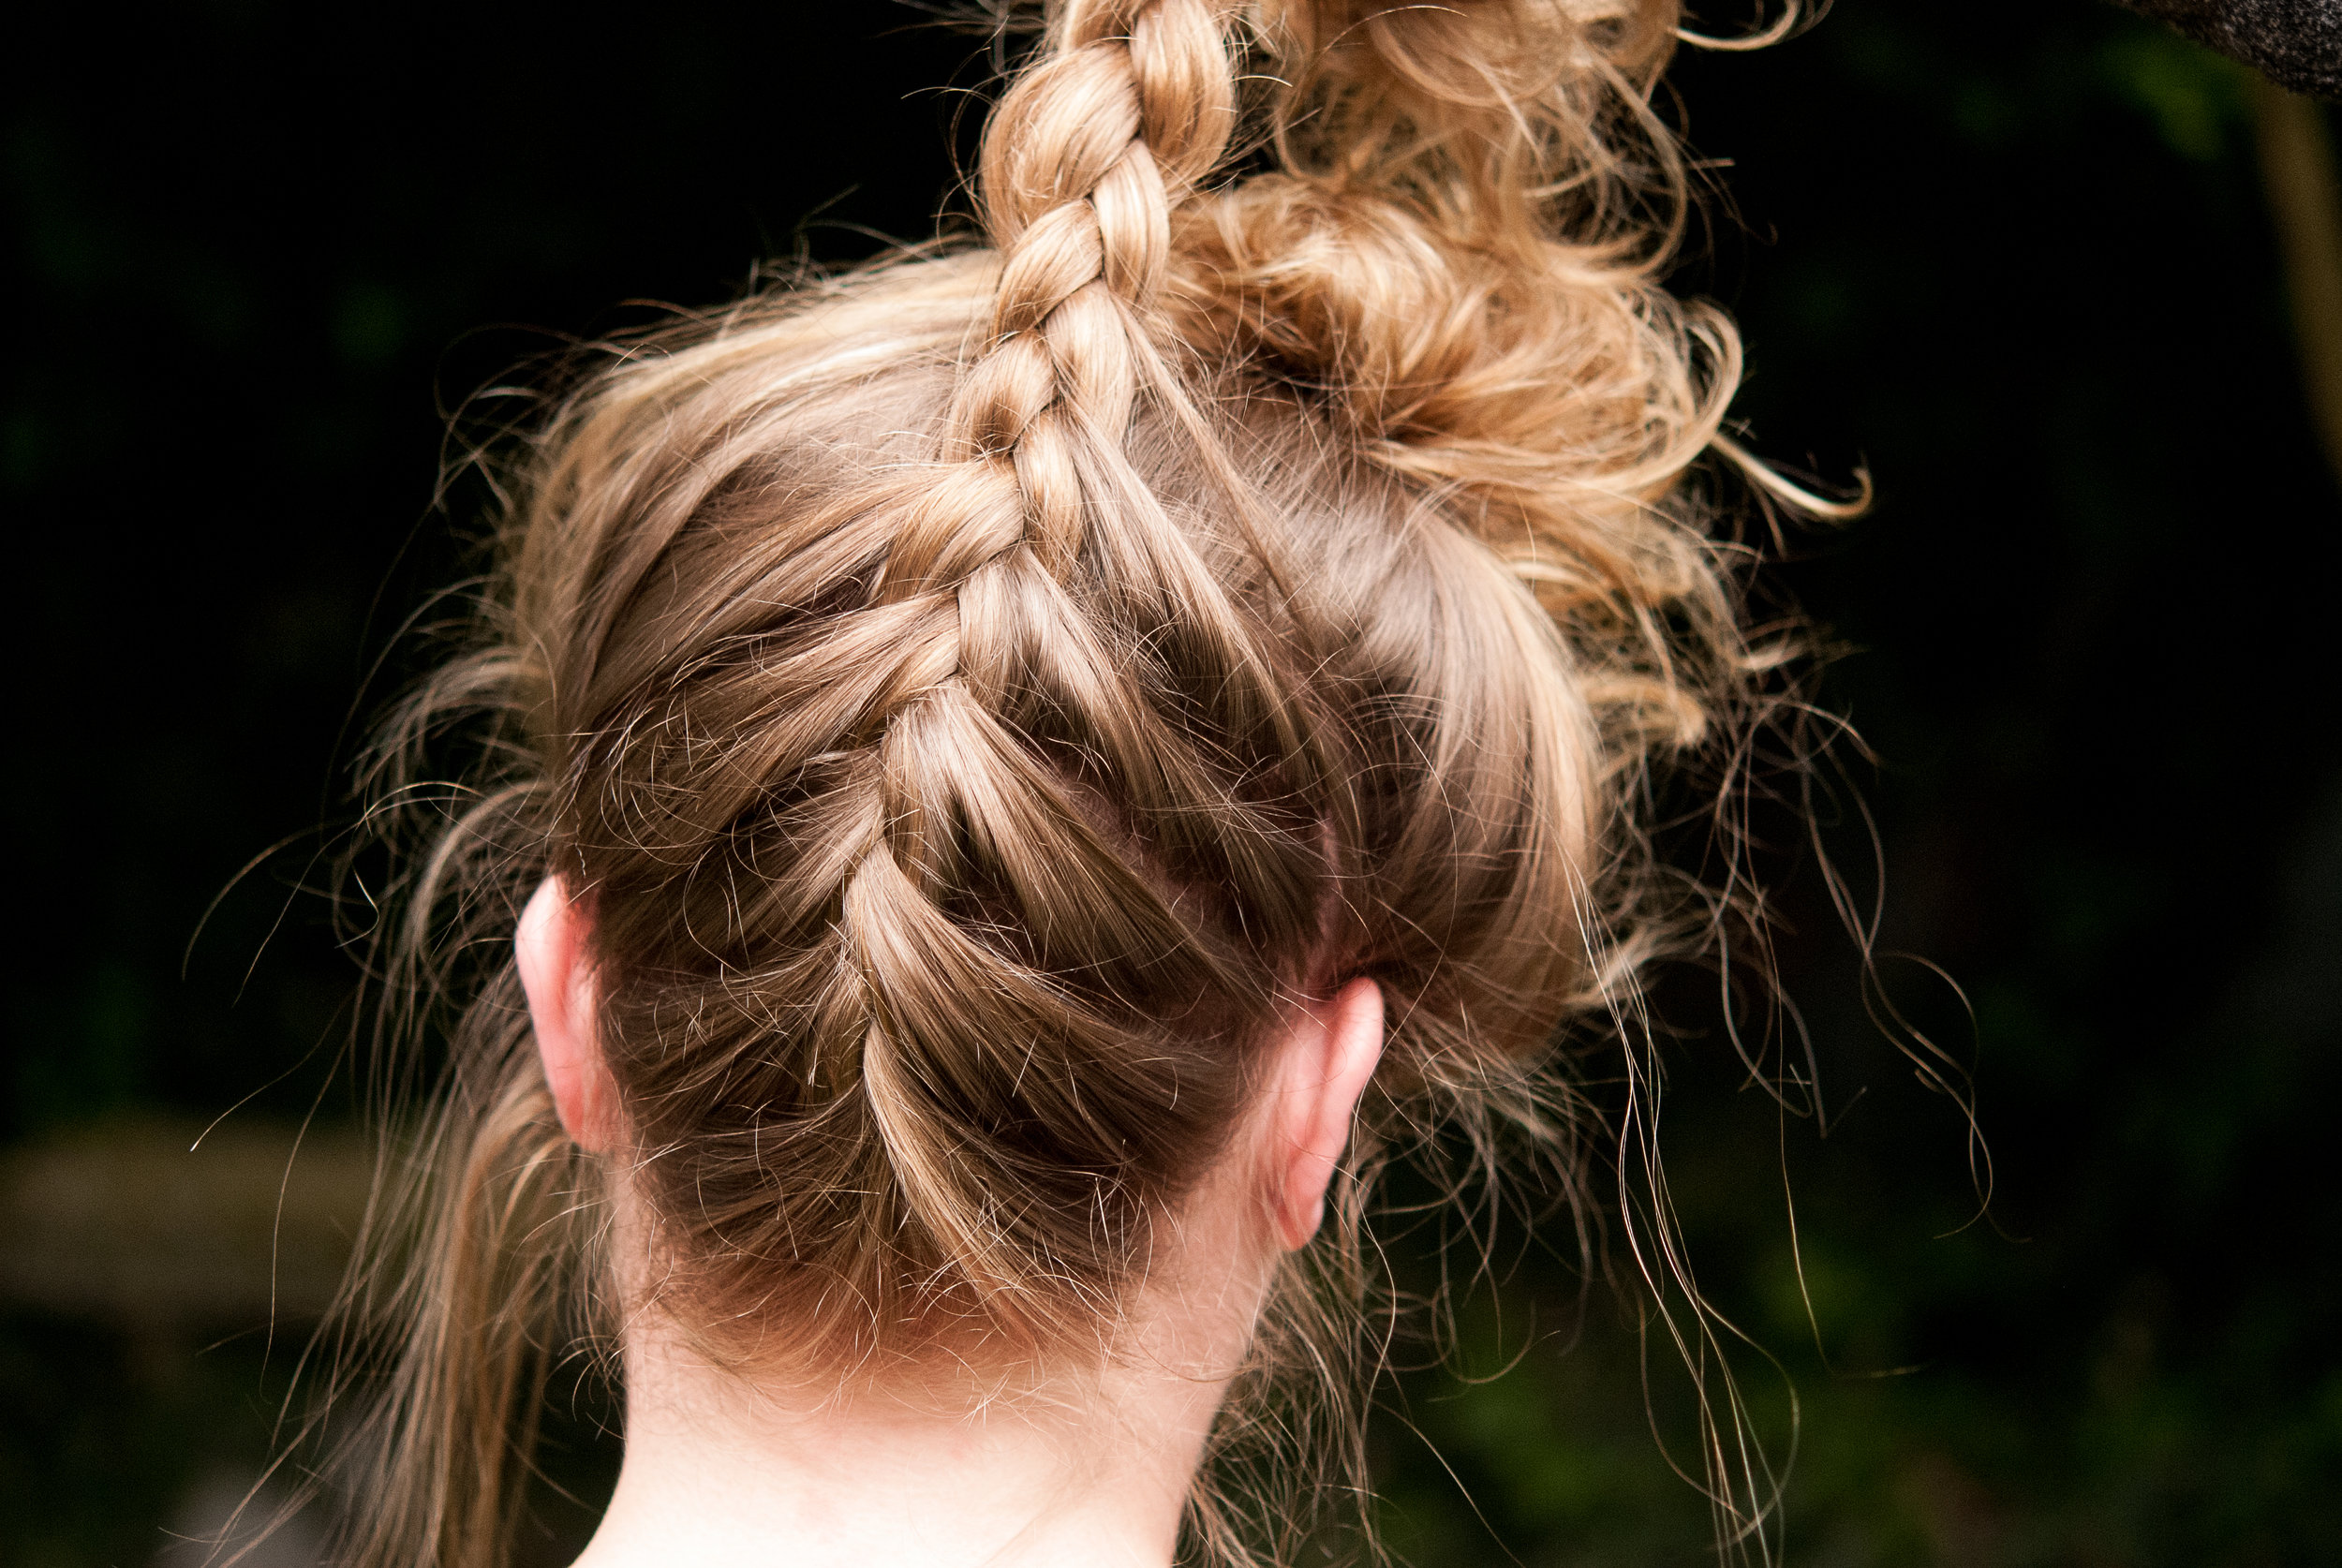
Continue braiding the hair all the way to the top, then combine the braid and the rest of the hair into a high pony and tie with an elastic band.
On the last loop of the ponytail, only pull it halfway through and leave it.
For my personal messy buns, I just pull the bun apart and place pins here and there to really secure it, but you can do it however you feel most comfortable. (I feel like everyone has a different method for messy buns that works best for them!)
I pulled out little wisps of hair in the front to give it a soft romantic/ messy look, but that is also totally up to you!
And that is it for the Upside-Down Braided Top Knot Tutorial, and the last tutorial I have of Meagan for a little while! Here are the links to the other two I did on her, the Dutch Braid Messy Bun and the Braided Top Knot .
